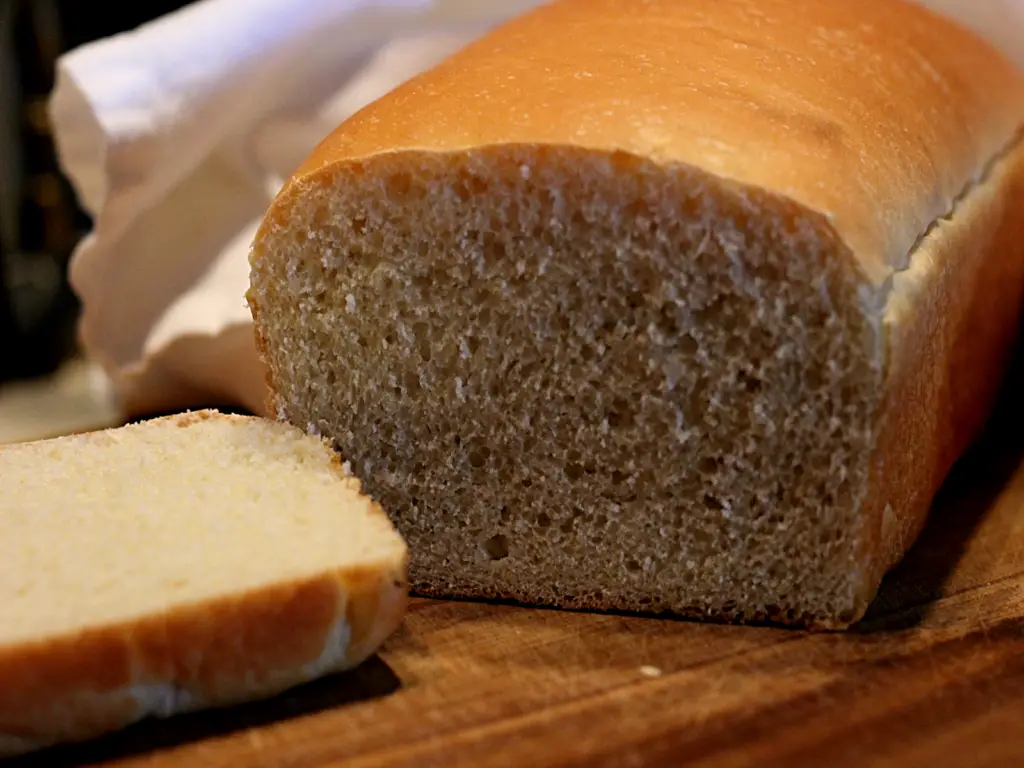
There’s something undeniably satisfying about baking your own bread, especially when it comes to the beloved classic: sandwich bread. The heavenly aroma that fills your kitchen, the warm and tender slices that emerge from the oven, and the joy of creating something from scratch make homemade sandwich bread a true delight. In this blog post, I’ll take you through the steps to create your very own soft and fluffy sandwich bread that will elevate your sandwiches to the next level.

This post may contain affiliate links. Please read my disclosure policy.
Jump to RecipeSandwich bread vs sourdough bread
Both sandwich and sourdough bread have their own distinct characteristics and are beloved by bread enthusiasts for different reasons. While sourdough bread is cherished for its complex flavors, long fermentation process, and potential health benefits, sandwich bread is a staple for making quick and easy sandwiches. I think you will make this simple homemade sandwich bread recipe a part of your bread baking routine.
What is sandwich bread?
Sandwich bread is a classic type of bread that is soft, light, and often used for making sandwiches. It is usually made with flour, yeast, water, and other ingredients such as sugar and butter to create a light and airy texture. Sandwich bread has a mild flavor with a subtle hint of sweetness and serves as a neutral base for various sandwich fillings and spreads.
Ingredients needed
To make delicious homemade sandwich bread you’ll need:
- 2 cups warm water
- 2 heaping teaspoons active dry yeast
- 4 tablespoons sugar
- 2 teaspoon salt
- 2 tablespoons lard
- 6 cups bread flour
Why use lard?
Lard is a type of fat that is used in sandwich bread for several reasons, each contributing to the overall characteristics of the bread. Here are some reasons why lard is used in sandwich bread:
- Flavor: Lard can impart a unique and slightly savory flavor to the bread, enhancing its taste and giving it a rich, satisfying quality.
- Texture: Lard can contribute to a tender and soft texture in sandwich bread. It can help create a moist crumb and a light, airy structure, making the bread more enjoyable to eat.
- Longevity: Due to its saturated fat content, lard can help extend the shelf life of the bread by reducing staling.
- Baking Properties: Lard has a high melting point, which can contribute to the overall structure and stability of the bread during the baking process. It can help the bread retain moisture and provide a more consistent crumb.
- Tradition and Cultural Significance: In some culinary traditions, lard has been a traditional ingredient in bread making, passed down through generations. Using lard in sandwich bread can help maintain the authenticity and heritage of certain recipes.
It’s worth noting that lard can be substituted with other fats or oils, depending on dietary preferences or restrictions. You may opt for vegetable oils, butter, or other alternatives to achieve similar effects in terms of texture and flavor. I’ve tried many bread recipes, and I must say I prefer to use lard.
How to make sandwich bread
Follow these simple steps to make the best homemade sandwich bread you have ever tasted!
1: Proof the Yeast
- In a small bowl or stand mixer, combine the warm water, sugar, and active dry yeast. Let it sit for about 5-10 minutes until it becomes frothy.
2: Mix the Dough
- Add salt, lard, 6 cups of the flour and mix well.
3: Knead the Dough
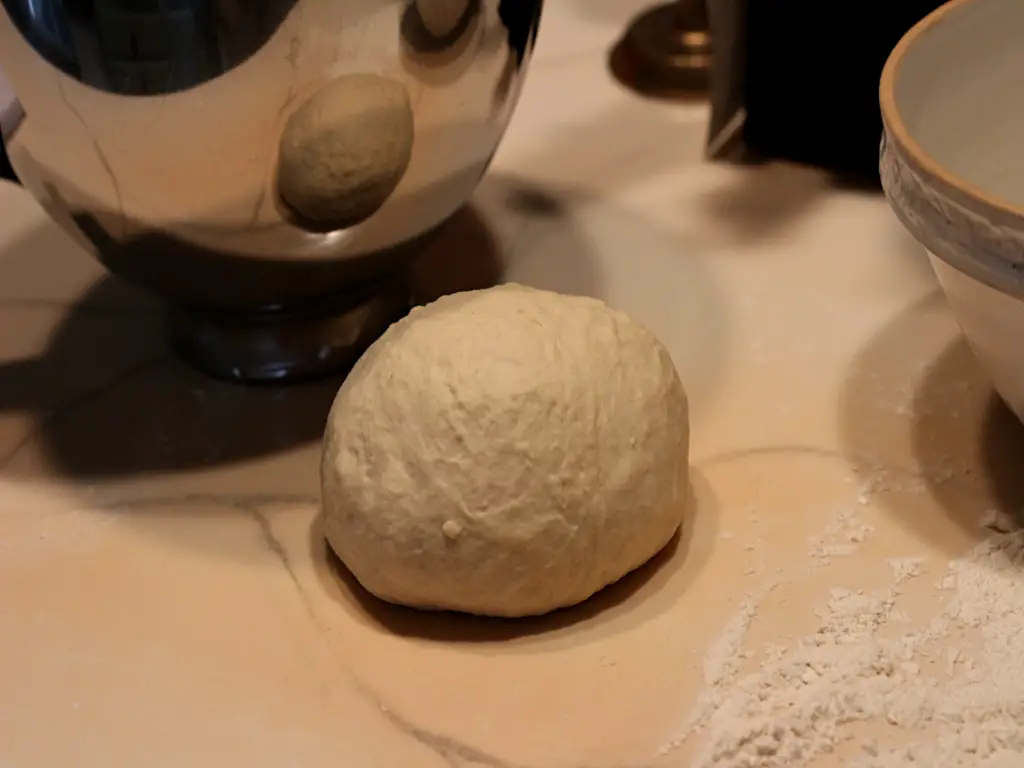
- Turn the dough out onto a floured surface and knead for about 8-10 minutes until it becomes smooth and elastic. If the dough is sticky, add more flour, a little at a time until the dough forms.

4: First Rise
- Place the dough in a greased bowl, cover it with a clean kitchen towel, and let it rise for about 1 hour, or until it has doubled in size.
5: Shape and Second Rise
- Punch down the dough and divide in half. Shape each half into a loaf.
- Place the dough in greased loaf pans, cover again, and let them rise for an additional 30-45 minutes.
6: Bake
- Preheat your oven to 350 degrees.
- Bake the bread for about 30-35 minutes, or until the top is golden brown and the bread sounds hollow when tapped.
7: Cool, Slice and Enjoy!
- Let the bread cool in the pan for a few minutes before transferring it to a wire rack to cool completely.
- Slice, and enjoy your homemade sandwich bread!
Storing homemade bread
Wrap your bread in plastic wrap or aluminum foil to keep from drying out. Sandwich bread will stay fresh for several days on the counter if left in a cool, dry area away from sunlight. For longer storage, keep wrapped bread in a plastic storage bag in the refrigerator. For extended storage, keep wrapped bread placed in a freezer in the freezer for several months.

There’s nothing quite like the taste and texture of freshly baked homemade sandwich bread. Whether you’re using it for classic PB&J sandwiches, hearty club sandwiches, or gourmet paninis, your culinary creations will reach new heights with this soft and fluffy loaf. Plus, the pride that comes from making your own bread is the secret ingredient that makes everything taste better.
Happy baking!

Homemade Sandwich Bread Recipe
Equipment
- Large bowl or stand mixer
- 2 Loaf pans
- Measuring cups and spoons
Ingredients
- 2 cups warm water
- 2 tsp active dry yeast heaping teaspoons
- 4 tbsp sugar
- 2 tsp salt
- 2 tbsp lard May use other fat/oil of choice
- 6 cups bread flour
Instructions
- In a bowl or stand mixer, mix water, yeast and sugar
- Add salt, lard, and flour. Mix to form a smooth dough. (If dough is sticky, may add more flour as needed)
- Turn dough out onto a floured surface and knead until smooth and pliable. About 5-10 minutes.
- Form dough into a ball and place into a greased bowl. Cover and allow to rise for 1 hour or double in size.
- Punch down dough and separate into two halves. Form each half into a loaf and place into greased loaf pans.
- Cover loaf pans and allow to rise. About 30-45 minutes.
- Bake in 350 degree oven for 30-35 minutes or until loaves are golden brown and bread sounds hollow when tapped.
- Allow bread to cool in pans for 5 minutes then turn loaves out onto a wire rack to cool completely.


Leave a Reply