
Mastering Indoor Seed Starts: Tips and Tricks for Successful Gardening
This post may contain affiliate links. Please read my disclosure policy.
Are you looking to start your own outdoor garden but not sure where to begin? Indoor seed starts are a great way to get a head start on your gardening season and ensure a successful harvest.

Indoor seed starts
I can’t wait to get outdoors and start planting my raised garden beds that I made last year. But, before I put the cart ahead of the horse, I need to get my seeds started to be ready for the planting season.
To help you get started, I’ve compiled a list of tips and tricks for mastering indoor seed starts. From choosing the right seeds to providing the optimal growing conditions, these tips will set you on the path to gardening success.
Steps to achieve successful indoor seed starts
- Choose the Right Seeds: Start by selecting high-quality seeds from a reputable supplier. Look for seeds that are specifically labeled for indoor starting and choose varieties that are well-suited for your growing conditions.
- Prepare Your Containers: Before planting your seeds, make sure your containers are clean and sterile. Use containers that have good drainage and are large enough to accommodate the root system of your plants.
- Provide Optimal Growing Conditions: To help your seeds germinate and grow, you’ll need to provide the right conditions. This includes adequate light, water, and temperature control. Consider using grow lights or placing your plants near a sunny window.
- Keep an Eye on Your Seedlings: Once your seeds have germinated, keep a close eye on them to ensure they are getting the proper care. This includes regular watering, fertilizing, and monitoring for pests and diseases.
- Transplanting Your Seedlings: As your seedlings grow, it’s important to transplant them into larger containers to accommodate their growing root systems. This will help ensure they have the space they need to thrive.
- “Harden-off” your plants before planting outdoors: Hardening off plants means that you want to acclimate the plant to the outdoor conditions.
How I use these tips and tricks to start seeds indoors
For the past two years, I focused on saving seeds from crops that did especially well in the garden and my growing area. I purchase heirloom varieties from sites like Baker Creek. They also have a wealth of knowledge about every type of plant you want to grow. I live in zone 5b, so produce that takes a long time to grow will not do well in my area.
Containers
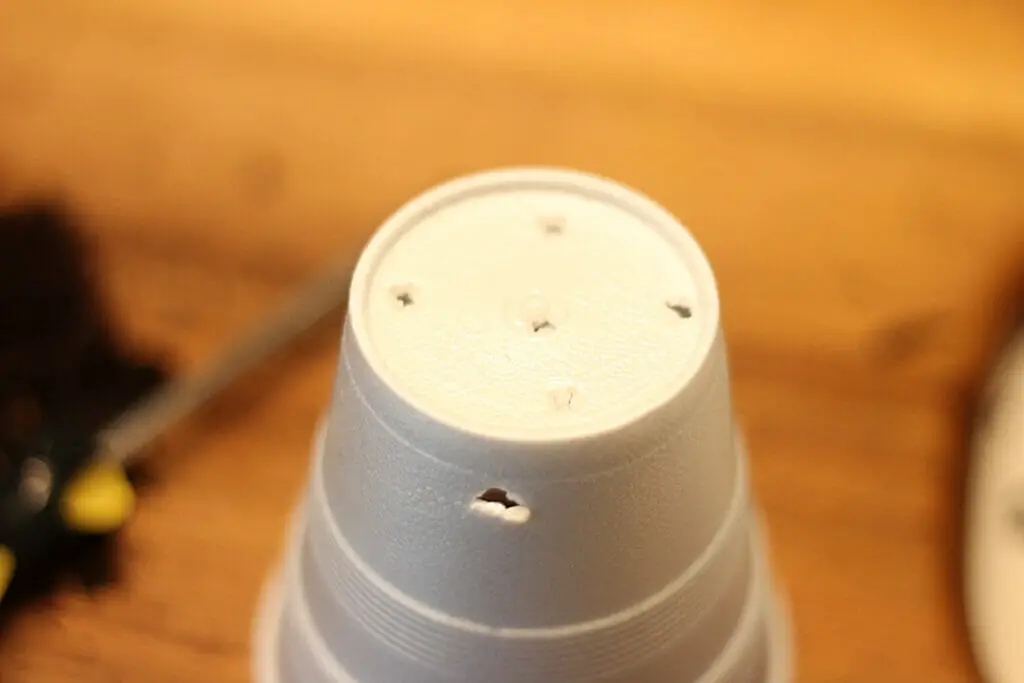
Last year, I purchased seed start trays. I have since found that I love the bottom trays and covers to germinate seeds, but do not like the small seed trays. Red solo cups are excellent for starting seeds and you don’t have to transplant them to larger containers. This year I had a package of Styrofoam cups that weren’t being used so I am putting them to good use. Make sure to add plenty of holes in the bottom of your container to allow for water absorption and drainage.
Growing conditions
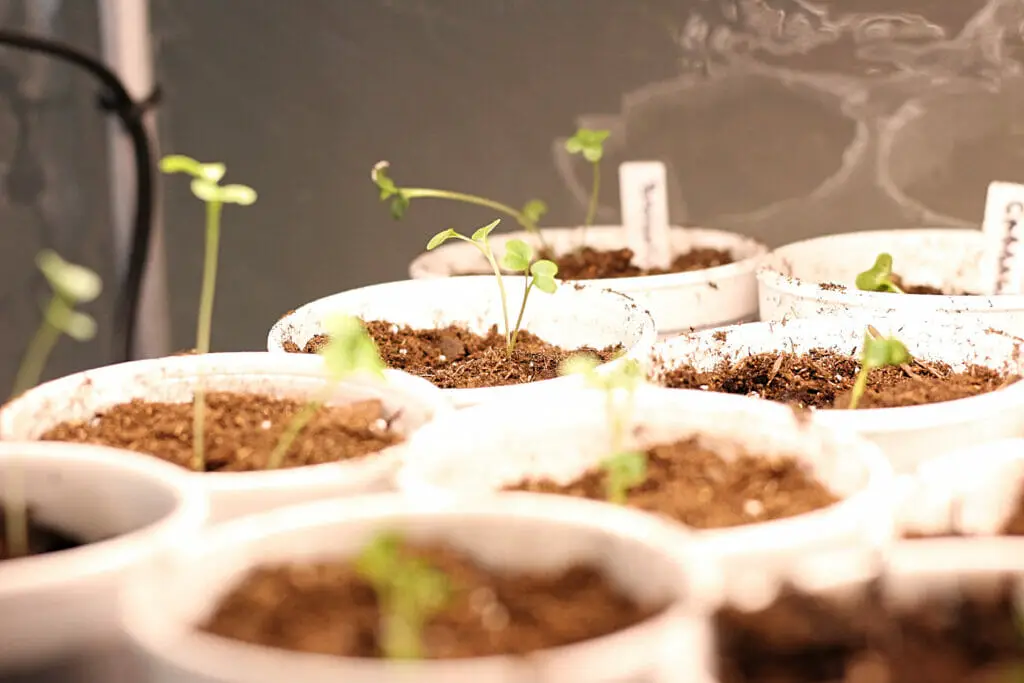
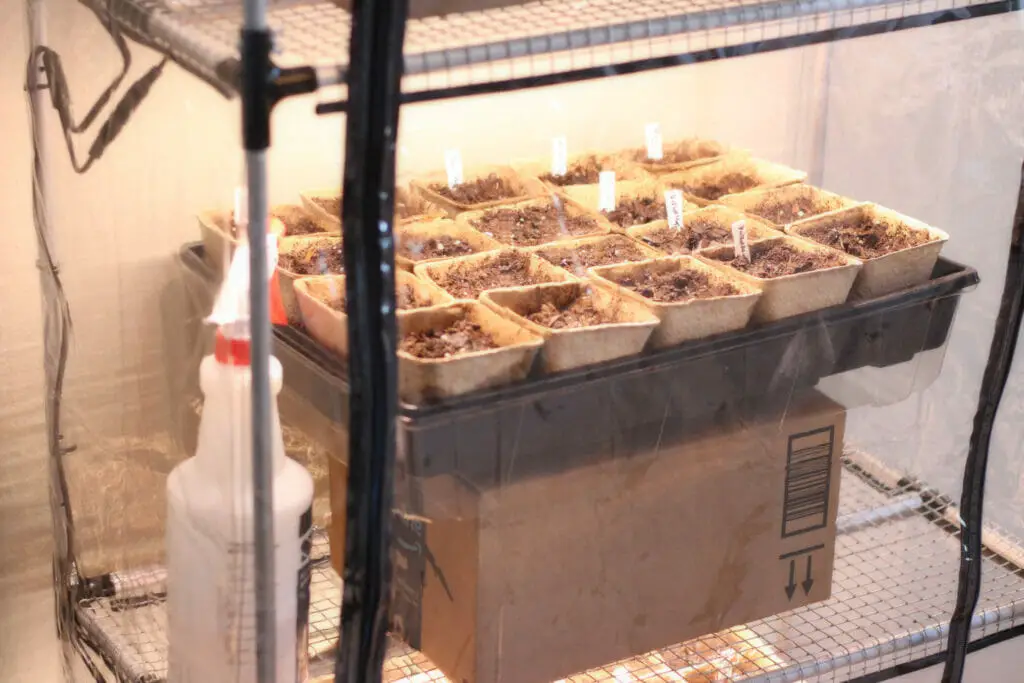
Having a sunny windowsill is the perfect spot to start seeds. I, however, do not have any nice sunny locations, so the need for an indoor greenhouse is in order. Last year, my seedlings were “leggy” and did not grow a hearty stalk for growing. This year, I purchased a small indoor greenhouse and it is doing a wonderful job at keeping my seedlings warm and sunny. The key to avoiding “leggy” seedlings is to keep them close to the light source. I added boxes to elevate my seed trays closer to the light source until they grow bigger. I also placed it on a timer to ensure the seedlings receive 12 hours of sunlight.
Keep an eye on those indoor seed starts
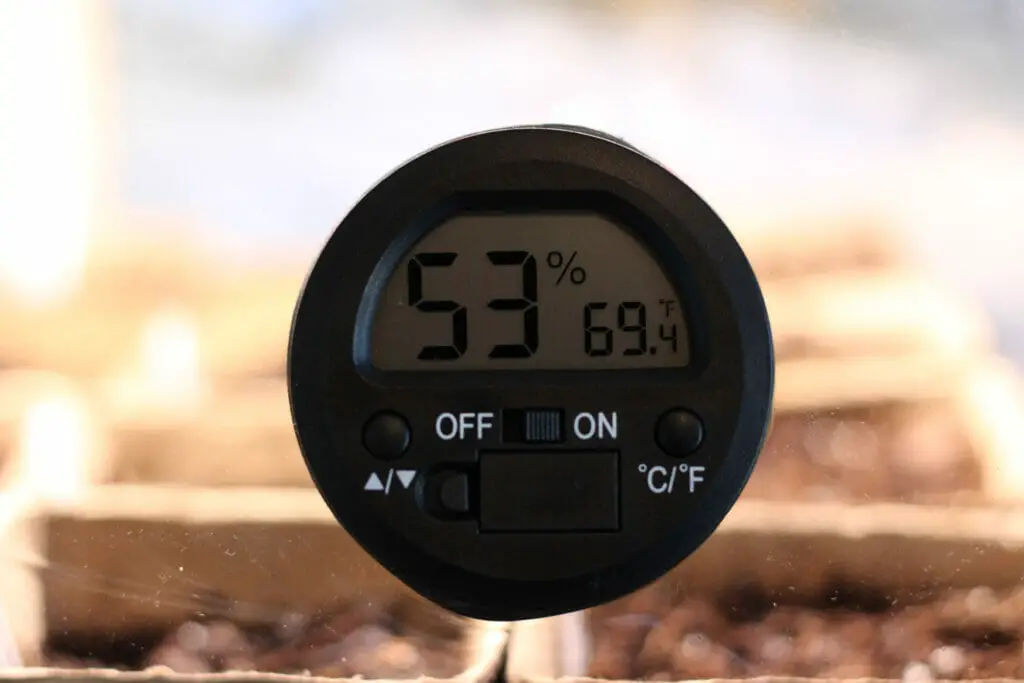
Every day, I peek in at my plants to see how they look. You want to make sure your plants of plenty of water, but do not oversaturate them. This is where seed trays come in handy because I water my plants from the bottom. The holes in the cups allow the water to soak into the soil as it is needed. I add miracle grow to the water to give the plants the nutrients they need to grow strong and healthy. If you find the soil is not evaporating and staying too wet, then open the front of the greenhouse and allow air to flow. This is especially important after your seeds germinate and are growing.
Transplanting
If you decide to use the small germination tray, transplant your seedlings after they get their second set of leaves. The first two leaves on the seedling are the sprouts. Transplant to a container that has good drainage and allows for adequate root growth.
Hardening off
In zone 5b, my last frost is around the first week of June. Some crops, such as broccoli, cauliflower, brussel sprouts, and cabbage can tolerate cold temperatures. About a month before I plan to plant outdoors, I will start hardening off the plants by placing them outdoors in the sun for a few hours, then gradually increase the time until they are acclimated to the outside temperature. This step is important because if you place your plants outdoors after being inside for several months, it will stunt the growth.
Bonus tidbit!
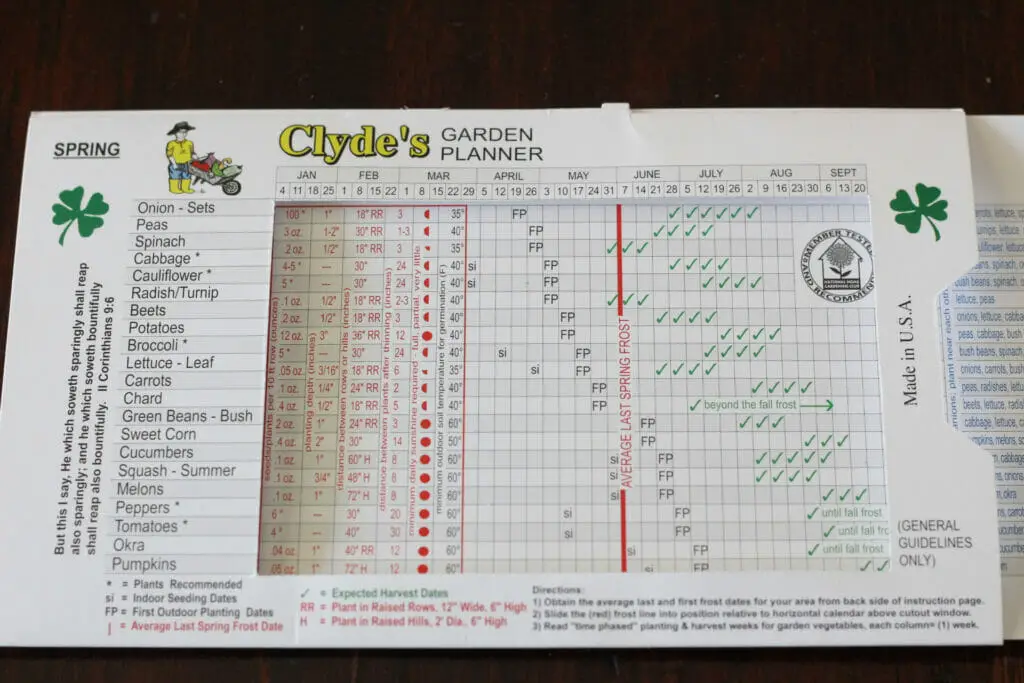
Another little item that I have found useful in successfully planting within my zone is this handy guide from Clyde’s Garden Planner. You simply slide the guide to either your last expected frost date in the spring or first frost date in the fall and follow the recommended planting dates. It also tells you what can be directly sowed into the ground and what needs to be started indoors.

Seed tapes
Some seed starts need to be directly sown into the ground. However, some of these seeds are so small, it is impossible to plant them in a uniform fashion. For these seeds, I make some homemade seed tapes to plant when the conditions are right. These seed tapes are especially useful to eliminate seed waste and promote uniform spacing between plants. And who doesn’t want to save a little dough?
By following these tips and tricks, you’ll be well on your way to mastering indoor seed starting and achieving a successful harvest. Happy gardening!


