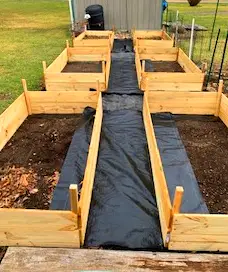
You can build beautiful wood raised garden beds for $20 and change per bed! All you need are fence pickets and a 2×2.
This post may contain affiliate links. Please read my disclosure policy.
Making a change
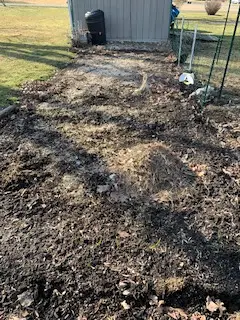
My poor garden. It’s been here for 15 years and has served me well. When I first started a garden, I dug up an 8ft by 24ft area and edged it with pressure treated landscape ties. I must say, they have lasted a very long time, but were in need of replacement. It was also time I made a change. I’m not getting any younger and it’s getting pretty hard to stoop down on my knees to tend the garden. So, I decided that this year I needed to transition to raised garden beds.
If you search through Pinterest or the web in general, you can find many stunning raised gardens made out of corrugated steel and expensive hardwoods. You can also find some pretty nifty ways to grow raised gardens out of cardboard boxes and hay bales. Now that’s genius! I wanted to find something in between; something that looks beautiful while being economical all in one.
I was at Lowes one afternoon, looking through the lumber yard and trying to find something within my budget to build simple raised garden beds. I don’t need anything fancy. After all, what I need is to grow food not to look pretty. But then I saw these wooden fence pickets! They are the perfect length at 6ft and just the right width that when placing them two widths high, it would give me about a one foot raised bed.

Benefits of wood raised garden beds
Of course, the obvious benefit of a raised garden bed is not having to get down on the ground to tend your plants. Raised beds usually contain less weeds than a garden on the ground, and if you start with a no-till method, you should have fewer weeds every year you garden. You can grow more vegetables in a raised garden because you don’t plant in long, single rows like you do in a traditional garden. The square foot method of planting works perfectly in raised beds!
Raised garden beds require less watering, as they tend to retain more moisture. The soil does not become compacted from walking on it and no tilling is required. Raised beds make it much easier to tend to your garden because you can reach further and maneuver around your bed much easier. And last, but not least, fewer critters can get into your garden and eat it.
Drawbacks to raised garden beds
Making raised beds require knowledge of hand tools and assembly. Upfront costs of raised beds can be pricey (unless you are building how I did) in purchasing materials and soil. Getting your raised bed ready to use can be labor-intensive in filling the beds with soil.
Benefits of using pressure treated wood
I know some people are afraid of using pressure treated wood around their garden, and there are alternatives if you want to pay for them. However, here in central Pennsylvania, we see all four seasons, and our winters can be pretty severe at times. When building a raised garden bed, I want it made with something that is going to last me more than one season. Pressure treated lumber can last up to 40 years. I have seen some people use corrugated metal around my area and it looks great for a few years, but it doesn’t take long for it to rust. If I’m going to invest in this change and do some backbreaking labor getting it ready, I want it to last a long time.
Materials needed to make a wood raised garden bed
I made 3ft by 6ft beds that are just shy of 1ft tall. This makes cutting your boards extremely easy! For each raised bed, you will need:
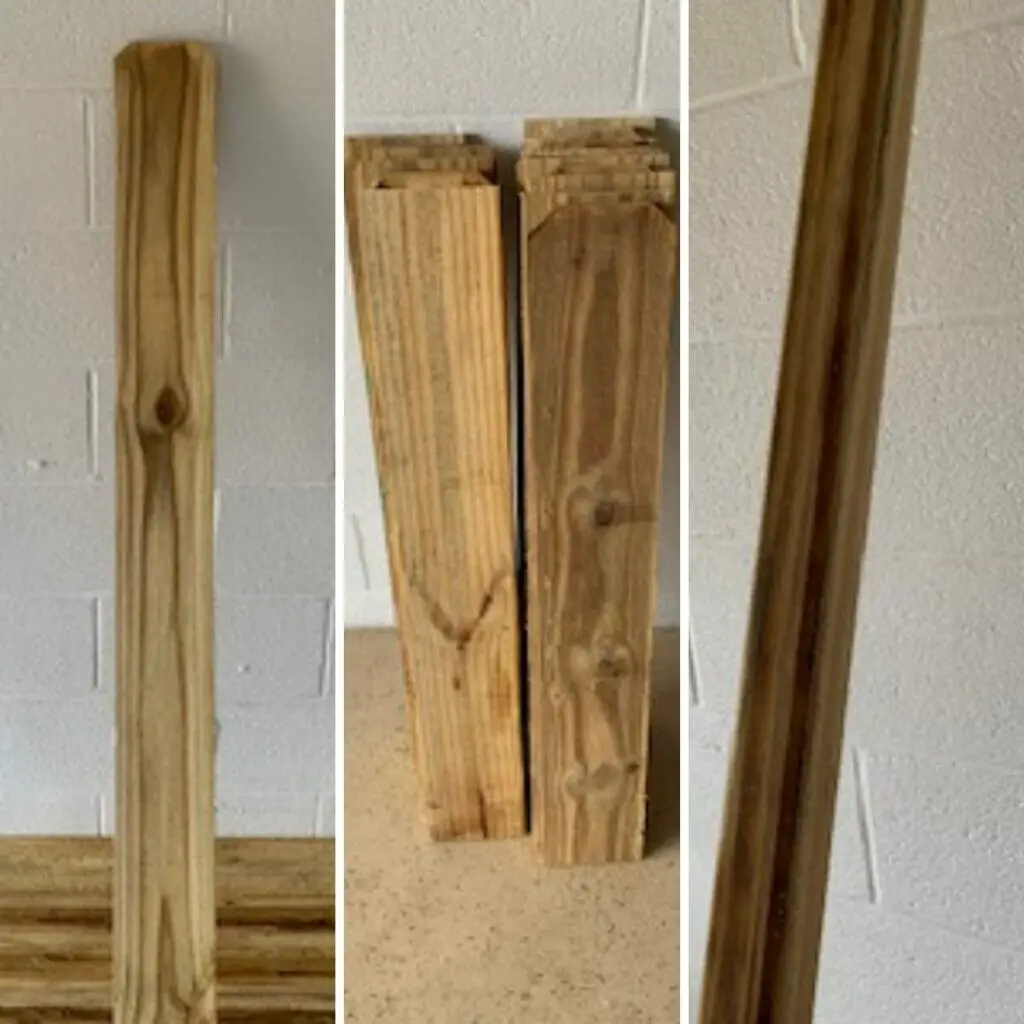
- 6-Severe weather pressure treated pine dog ear fence pickets (5/8″x5 1/2″x6ft) ($13.08 at Lowes)
- 1-Severe weather pressure treated 2x2x8 lumber ($7.28 at Lowes)
- Outdoor wood screws 1 5/8″
- Miter or bench saw
- Drill with phillips bit and drill bit (I use two drills, one to drill a hole and one to screw together)
- Measure tape and pencil for marking measurement
How to make your wood raised garden bed
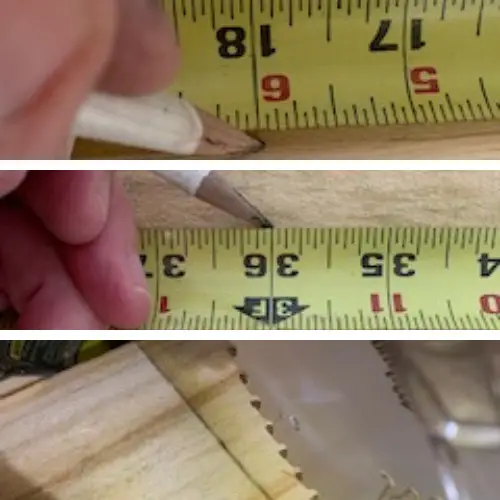
Cut the 2×2 into your choice of 12″ or 18″. I cut mine at 18″ in case I want to add a board to make it taller in the future and to also provide a place to attach wire garden fence if needed. If you cut 18″, you should get 5 full pieces.
Cut two of your boards in half at 3ft.
Align a 6ft board on top of two 2×2’s placed at each end. Secure into place with 2 screws. It helps to predrill holes before attaching screws. Place another board on top and secure. Repeat with the other two 6ft boards.
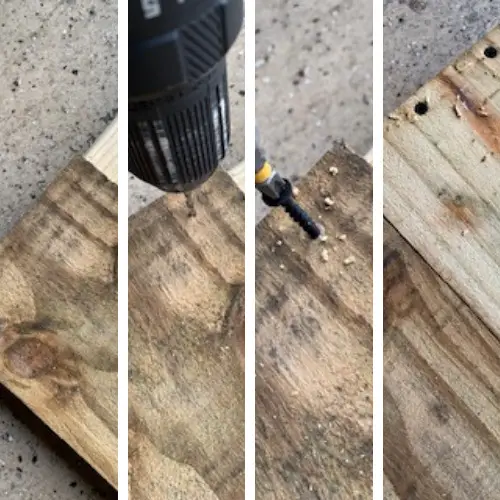
Attach two 3ft boards to each end the same way you attached the 6ft boards.

Filling your raised garden bed
I wanted to create beds in which I did not have to till (which is pretty hard to do in a raised bed) and wanted minimal weeds. I lined the beds with cardboard which will smother any existing weeds at the bottom of the bed. I then filled each bed with approximately 5 inches of sticks, leaves, straw and coop bedding. This will break down over time and provide a great mulch for plants to grow from.
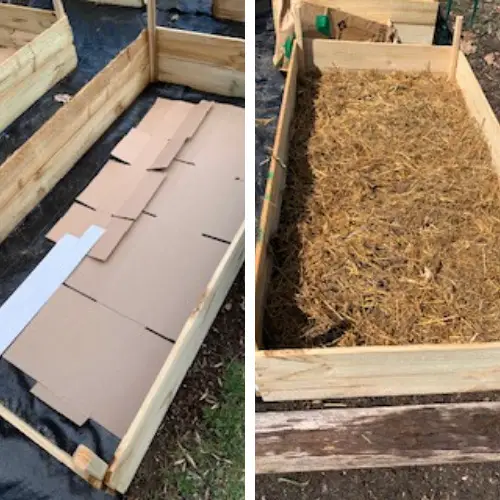
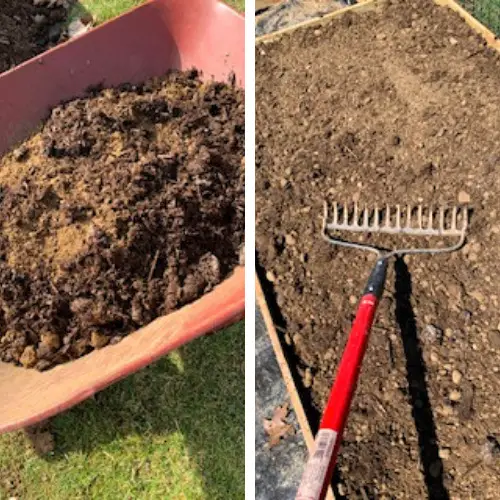
I then topped the remaining 7 or so inches with a 50/50combination of screened topsoil and mushroom soil. The mushroom soil will add aeration to the topsoil which would compact to a hard substance without some kind of medium mix. This does take some elbow grease, but as I keep saying to myself, “once it’s done, it’s done!”
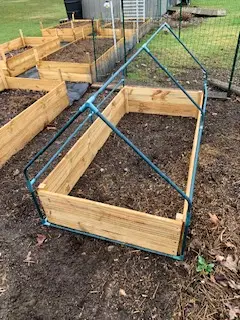
I added a smaller bed to fit my greenhouse I purchased last year. This bed will be great for growing fall vegetables and lettuce well into November, December and maybe into January!
You can do it!
Now more than ever, we need to become more self-sufficient, and gardening is the first task you can do in achieving a goal of leading a slow lifestyle. Gardening is great for providing nutritious, organic food to your table and getting a little exercise in to boot! I can’t wait to get my raised beds filled with delicious and nutritious foods. There’s no better feeling than stepping out to your garden to pick fresh produce for dinner. If you want to work toward a self-sufficient, slow lifestyle, then get out there and build a few raised garden beds now for years of garden enjoyment.


I can’t wait to build some raised gardens again. I really like how you laid yours out! Thank you for all the tips!
You are very welcome!
I built a bunch of raised beds last year. So fun, and a lot of work. I moved in November so I guess I’m going to have to get back at it again! Thanks for the tips 😉
Very informative, GF!