
How to Re-caulk a Bathtub: A Step-by-Step Guide
Re-caulking your bathtub is an easy and cost-effective way to freshen up your bathroom while preventing water damage and mold growth. Old, cracked, or discolored caulk not only looks unsightly but can also compromise the watertight seal around your tub. Follow this simple guide to re-caulk your bathtub like a pro.

This post may contain affiliate links. Please read my disclosure policy.
Tools and Materials Needed to Re-caulk a Bathtub:
- Caulk (silicone or acrylic, specifically for bathroom use)
- Caulking gun (for large jobs)
- Putty knife, utility knife or caulk remover tool
- Painter’s tape (optional)
- Rubbing alcohol or a bathroom cleaner
- Cleaning cloths or sponges
- A small bowl of soapy water
- Paper towels
Remove the Old Caulk

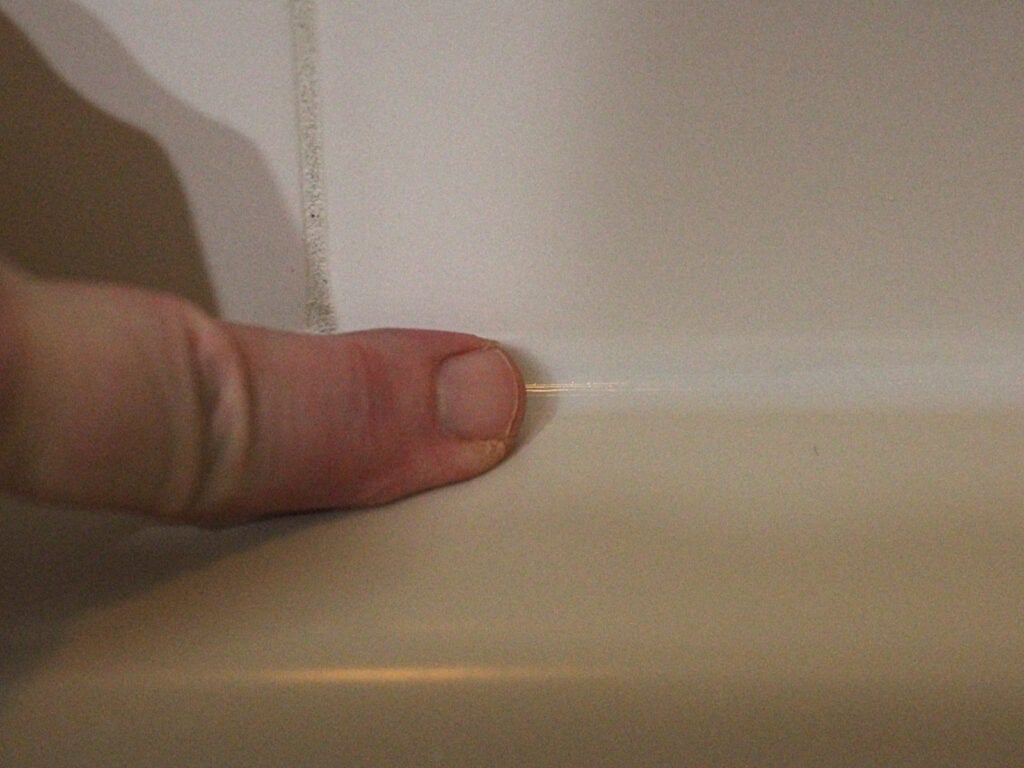
- Inspect the old caulk: Look for cracks, discoloration, or gaps. These are clear signs it’s time to replace the caulk.
- Loosen the old caulk: Use a putty knife, utility knife or a caulk remover tool to carefully cut along the edges of the old caulk. Be cautious not to damage the tub or surrounding tiles.
- Peel away the caulk: Once loosened, pull the old caulk away in strips. For stubborn areas, apply a caulk remover solution to soften it and try again.
- Clean the surface: Remove any remaining residue with rubbing alcohol or a bathroom cleaner. Ensure the area is clean and completely dry before proceeding. I like to use Clorox bathroom cleaner with bleach to ensure any mold spots are treated.
Prep the Area

- Apply painter’s tape (optional): To ensure clean, straight lines, place painter’s tape above and below where the new caulk will go. Leave about a 1/4-inch gap where the caulk will be applied.
- Choose the right caulk: Use a caulk labeled for bathroom use, as it will resist water and mold. Silicone caulk is highly durable and waterproof, while acrylic caulk is easier to clean and paintable. I love these handheld caulking tubes. No need to use a bulky caulking gun!
Apply the New Caulk
Caulking Gun
- Prepare the caulk tube: If using a caulking gun, cut the tip of the caulk tube at a 45-degree angle. The opening should match the width of the gap you’re filling.
- Load the caulk gun: Insert the caulk tube into the gun and ensure it’s secure.
- Apply the caulk: Hold the gun at a 45-degree angle and apply steady pressure to create a smooth bead of caulk along the seam. Move at a consistent pace to avoid gaps or uneven application.
Caulking Tube

- Prepare the caulk tube: Cut the tip of the caulk tube at a 45-degree angle. The opening should match the width of the gap you’re filling.
- Apply the caulk: Hold the tube at a 45-degree angle and apply steady pressure to create a smooth bead of caulk along the seam. Move at a consistent pace to avoid gaps or uneven application.

Smooth the Caulk
- Smooth the bead: Wet your finger with soapy water or use a caulk finishing tool to smooth out the bead of caulk. This ensures a tight seal and a professional finish.
- Wipe away excess: Use a damp cloth or paper towel to clean up any excess caulk before it dries.
Let It Cure
- Remove the tape (if using): Carefully peel off the painter’s tape while the caulk is still wet to avoid pulling up the fresh caulk.
- Allow time to cure: Refer to the manufacturer’s instructions for curing time. Most caulks require 24-48 hours to fully set before exposing the area to water.

Tips for a Successful Re-caulk of Bathtub:
- Work in a well-ventilated area to avoid inhaling fumes from the caulk.
- If possible, avoid using the bathroom during the curing process to ensure the caulk sets properly.
- For large gaps, consider using backer rod foam before applying caulk.
By following these steps, you’ll achieve a clean, professional-looking seal around your bathtub. Regular maintenance, like re-caulking, helps keep your bathroom functional and prevents costly repairs down the road. Happy DIY-ing!


