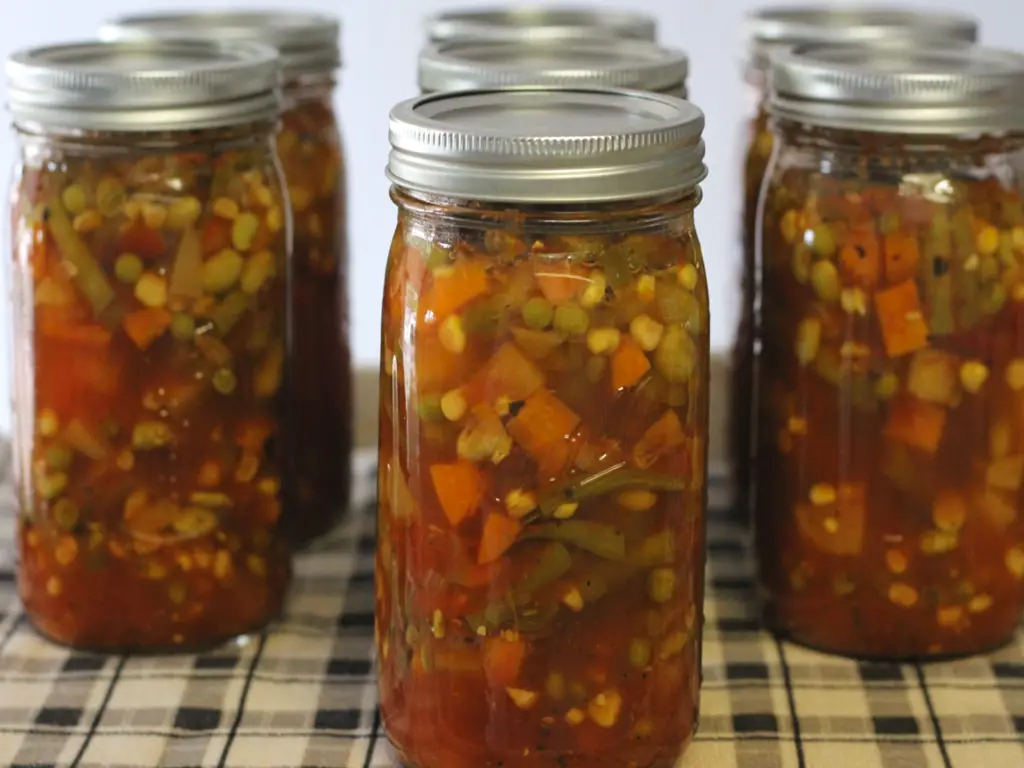
Indulge in the heartwarming goodness of homemade canned vegetable soup, crafted with love and bursting with the vibrant flavors of freshly harvested garden vegetables. Discover a comforting bowl that’s not only nourishing but also a delightful ode to nature’s bounty. Join me on a culinary journey that celebrates simplicity, health, and the joy of savoring every spoonful of wholesome goodness.
This post may contain affiliate links. Please read my disclosure policy.
Jump to RecipeHealthy Comfort Food
As a nurse, I’ve always told my patients: There’s nothing worse for you than grocery store canned soup and nothing better for you than homemade soup. There’s something truly special about savoring the flavors of a homemade meal, especially when it’s a warm and comforting bowl of vegetable soup. Imagine opening a jar of soup during the cold winter months and being greeted by the vibrant colors and rich aromas of the garden. In this blog post, I’m going to take you through the delightful journey of crafting your very own canned vegetable soup. By preserving the goodness of fresh garden vegetables, you’ll have a taste of summer no matter the season. Let’s dive into the art of homemade canning and create a pantry staple that’s both nutritious and incredibly delicious.
Choosing the right vegetables for homemade canned soup:
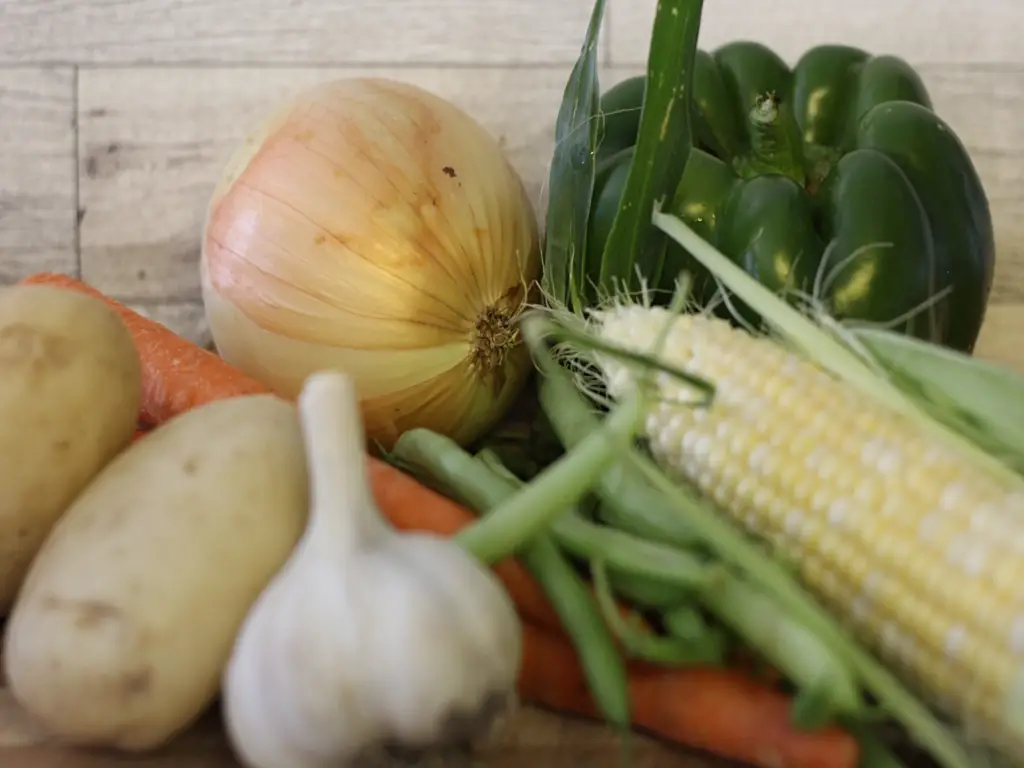
To create the best homemade canned vegetable soup, start with high-quality ingredients. Select a variety of seasonal vegetables from your garden or local farmer’s market. For this recipe, I use the following vegetables:
- Carrots
- Bell peppers
- Green beans
- Fresh corn
- Fresh peas
- Onions
- Garlic
- Potatoes
Choose what vegetables you like in your soup. The possibilities are endless!
Preparing the Vegetables for Homemade Canned Soup:
Wash, peel, and chop the vegetables according to your preference. Uniformly sized pieces will ensure even cooking and a visually appealing result. This step is crucial, as it sets the foundation for the texture and taste of your soup. Clean green beans and cut into bite size pieces. Peel and dice potatoes, onions, and carrots. I found this handy little chopping tool and it makes quick work at dicing your vegetables into perfect size pieces. Shuck corn if using fresh and cut from the cob and frozen works perfectly well too!.
Crafting the Flavor Base:
Every great soup begins with a flavorful base. Sauté onions, garlic, and your choice of herbs in a bit of olive oil to build a fragrant foundation. This step will infuse your canned vegetable soup with depth and complexity. I use chicken stock as my liquid base of choice, but feel free to use vegetable stock if you want to go vegan.
Balancing Flavors:
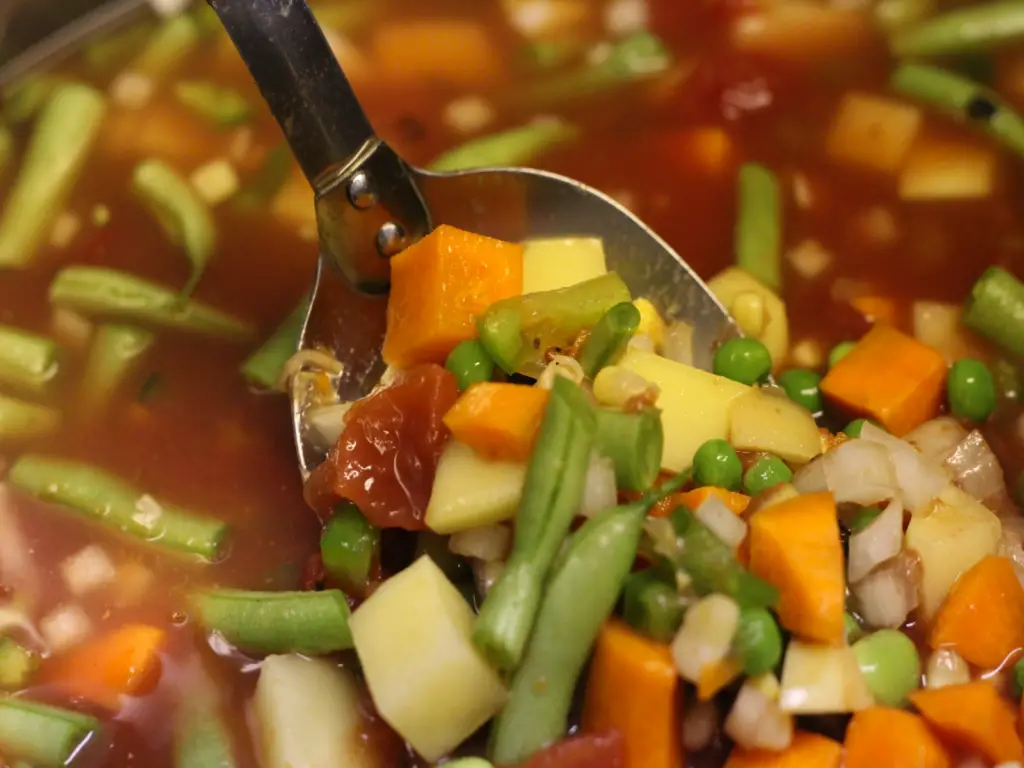
Achieving the perfect balance of flavors is key. Consider adding a splash of acidity with a can of diced tomatoes and a touch of sweetness with freshly diced carrots. Experiment with seasonings like thyme, rosemary, and bay leaves to enhance the taste profile. I love to add a couple cans of fire-roasted tomatoes for extra flavor.
The Canning Process:
Canning is a preservation method that requires attention to detail. Sterilize your jars and lids, then carefully ladle the hot vegetable soup into the jars, leaving the recommended headspace. Use a clean, damp cloth to wipe the rims before sealing the jars with lids and bands.
Processing and Sealing Your Homemade Canned Vegetable Soup
The process for preserving your homemade vegetable soup requires use of a pressure canner. Soup is a low acid food that requires a higher heat process not achievable through water bath canning. For years, I have used this Presto pressure canner and always have great results. The canner is inexpensive and does the trick. Pressure canning is a safe method for preserving low-acid foods, including vegetables, meats, and some soups, due to its ability to reach higher temperatures than water bath canning. Here’s a step-by-step guide to the pressure canning process:
Gather Your Equipment:
You’ll need a pressure canner, canning jars, new lids, and bands, as well as basic kitchen tools like a cutting board, knife, measuring cups, and a ladle. I use a Presto pressure canner and Forjars canning lids.
Prepare Your Recipe:
In a stock pot, sauté onions in a little olive oil until translucent. Add minced garlic and continue cooking for another minute. Add chicken stock, roasted tomatoes, and vegetables to the pot. Heat over medium flame until soup is warmed through.
A note about this recipe
The Ball canning recipe (the gold standard of canning) recommends cooking the soup until vegetables are cooked through. I don’t do this and I’ll tell you why. Pressure canning soup requires 90 minutes of processing for quart jars (75 minutes for pints). This process thoroughly cooks the contents. For this reason, I do not cook my soup prior to canning; I simply combine everything and heat enough to warm all ingredients.
Preparing the Jars:
Wash your canning jars, lids, and bands with hot, soapy water. Rinse thoroughly. Sterilize the jars by boiling them in water for 10 minutes, or use your dishwasher’s sterilization cycle. Keep the jars hot until you’re ready to fill them.
Prepare the Canner:
Fill your pressure canner with the recommended amount of water according to the manufacturer’s instructions. My Presto recommends adding 2-3 inches. You do not need to cover the filled jars with water. That is for water bath canning only. Be sure the canner’s rack is placed on the bottom. Place the canner on your stovetop, but don’t turn on the heat just yet.
Fill the Jars:
Using a funnel, fill jars with soup and broth leaving a 1/2 inch headspace. Wipe rim of jars with a clean cloth to remove any residue.
Apply Lids and Bands:
Place new, sterilized lids on the jars. Screw on the bands fingertip-tight—don’t overtighten. This allows air to escape during processing.
Processing:
Place the filled jars in the canner using a jar lifter. Fasten the canner lid securely according to manufacture instructions, but leave the weight (pressure regulator) off for now. Turn the heat to medium-high until steam starts to escape consistently from the vent.
Venting the Canner:
If your pressure canner has a vent, follow your canner’s instructions to allow a steady stream of steam to escape for 10 minutes. This purges the air from the canner and helps maintain a consistent pressure.
Building Pressure:
Allow the canner to vent steam for 10 minutes. Then, place the weight (pressure regulator) on the vent or follow your canner’s instructions to maintain the appropriate pressure level for your altitude. Here in central PA, my pressure level is 15 psi. The pressure should rise steadily.
Processing Time:
Process the jars at the recommended pressure for 90 minutes for quart jars, 75 minutes for pints. Maintain a consistent pressure throughout the processing time. If the pressure drops below the recommended pressure, adjust heat and start the timing all over.
Cooling and Removing Jars:
After the processing time is complete, turn off the heat and allow the canner’s pressure to naturally come down to zero. Wait for the pressure indicator to drop completely before opening the canner. Use a jar lifter to carefully remove the jars and place them on a towel-lined countertop.
Storing your homemade canned vegetable soup:
Allow the jars to cool undisturbed for 12 to 24 hours. During cooling, you’ll hear the lids make a “ping” sound as they seal. Check the seals by pressing down on the center of the lid; if it doesn’t pop up, the jar is sealed. Remove the bands, wipe any residue from the jars, and label the jars with the contents and date before storing them in a cool, dark, and dry place.
Remember, pressure canning requires proper equipment, attention to detail, and adherence to recommended guidelines to ensure food safety. Always follow your pressure canner’s instructions closely for a successful outcome.
Enjoying your creation
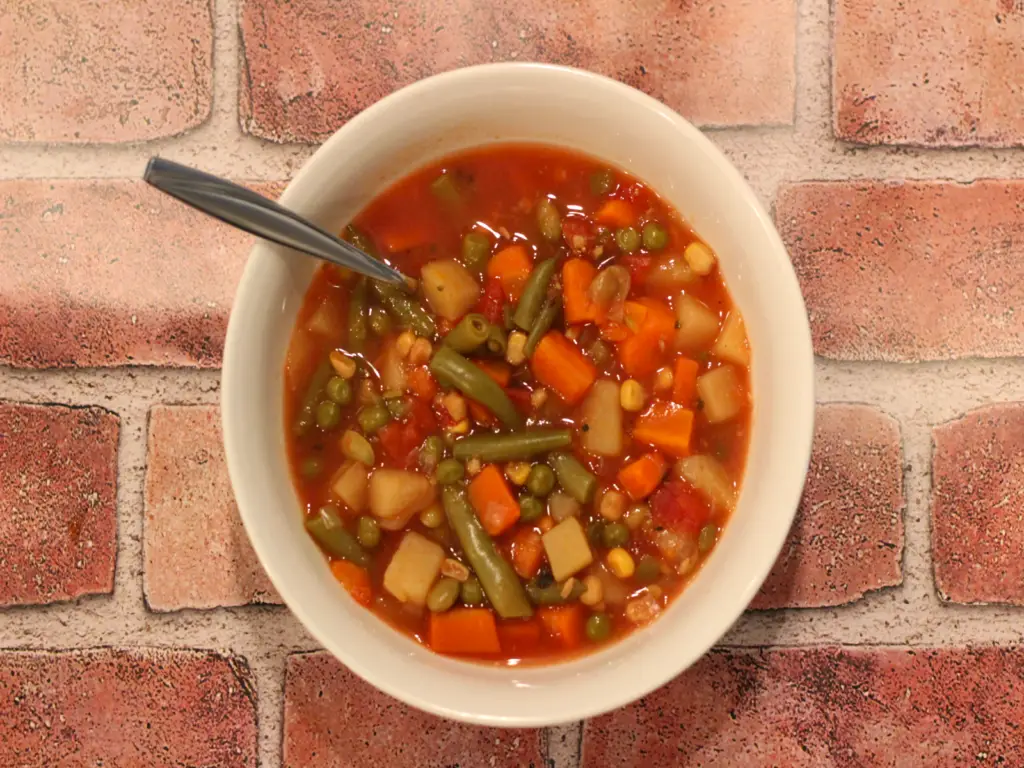
When you’re ready to enjoy a bowl, simply heat the contents in a pot on the stove or in a microwave-safe bowl. Pair your soup with a loaf of crusty sourdough bread and fresh salad. Want some protein in your soup? Open a jar of canned beef and add to your soup for a complete and hearty meal.
Homemade canned vegetable soup isn’t just a pantry staple; it’s a labor of love that allows you to relish the flavors of your garden year-round. By following these steps, you’ll create a supply of hearty, nutritious, and utterly satisfying soup that brings a touch of summer to even the chilliest of days. Share your canned vegetable soup with loved ones and spread the joy of preserving garden freshness through each nourishing spoonful. As always, thanks for stopping by!
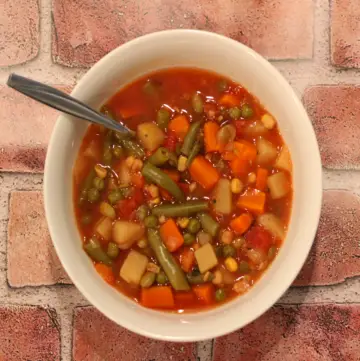
Homemade Canned Vegetable Soup
Equipment
- Pressure canner
- 7 quart canning jars or 14 pint jars
- 7 Canning lids and rings
- Funnel
- Jar lifter
- Stock pot
- Timer
Ingredients
- 2 15 oz cans Fire roasted tomatoes
- 6 cups Potatoes, peeled and diced
- 6 cups Carrots, peeled and diced
- 2 cups Fresh corn
- 1 cup Fresh peas
- 2 cups Edamame or lima beans
- 2 cups Onion, diced
- 4 cloves Fresh garlic, minced
- 8 cups Chicken or vegetable stock
Instructions
- Wash, peel, and chop the vegetables according to your preference. Uniformly sized pieces will ensure even cooking and a visually appealing result.
- Sauté onions, garlic, and your choice of herbs in one tbsp of olive oil
- Add the rest of the vegetables, fire roasted tomatoes (undrained), and chicken/vegetable stock. Simmer until warmed through
- Add recommended water to pressure canner and place on stove to start heating.
- Using funnel, fill jars with vegetable soup and top with liquid leaving a 1/2 inch headspace.
- Wipe rim of jar with clean cloth to remove any residue and place lid on top of jar. Screw on band fingertip tight.
- Place jars into canner on top of canner rack. Place lid onto canner according to manufacture's instructions.
- Allow the canner to heat until a steady stream of steam emits from the lid valve for 10 full minutes.
- Place weight on canner valve and allow pressure to come up to 10 psi (or higher depending on your altitude).
- Start timer and process for 90 minutes.
- When finished, turn off heat and allow canner to completely cool down and pressure returns to zero.
- Remove weight and allow an extra 5 minutes after removal.
- Remove lid, and place jars onto a towel lined surface. Allow jars to cool, undisturbed for 24 hours.
- Remove rings, wipe jars clean, label and store in a cool dry area.


Great tips! This looks delicious! Thanks!