
Canning chicken and beef for long term storage
Canning meat is one of the easiest ways to preserve chicken and beef for long term storage. Canning chicken and beef provides a quick base to delicious meals that are ready in minutes!

This post may contain affiliate links. Please read my disclosure policy.
About two years ago, I was chatting with my neighbor about canning-related topics and the subject turned to preserving meat. Most people, including myself, have always packed up meat and stuck in the freezer for future use. We discussed the process for canning chicken and beef, and I was intrigued enough to give it a try.
Why can chicken and beef?
How many of you purchase canned meat at the grocery store? You know, spam, potted beef, corned beef hash, canned chicken, and so on. What if you could preserve fresh chicken and beef that contains no ingredients that you can’t pronounce and lasts for two years or longer in storage?
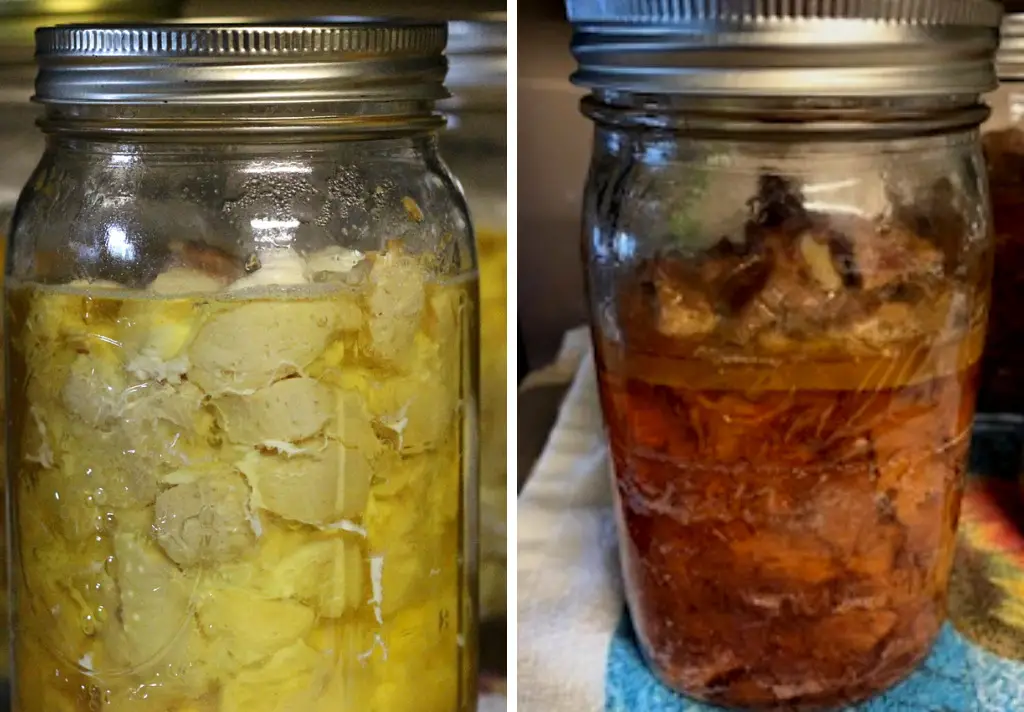
Canning beef and chicken has been a total game changer for me. When I crave a pot of beef stroganoff but don’t have a roast thawed, I simply grab a jar of canned beef from my pantry. When I want chicken salad to top off a plate of fresh veggies, I also grab a jar of preserved chicken and have a salad ready to eat in minutes. It may not look pretty in the jar, but you are going to love having fresh preserved meats on your shelf.
How to use canned beef or chicken
The list is endless when it comes to using canned chicken and beef, but here are a few ideas:
- Chicken noodle soup
- Add a jar of beef to homemade canned vegetable soup
- chicken salad
- beef tips and gravy
- chicken or beef stir-fry
Equipment needed for canning chicken and beef
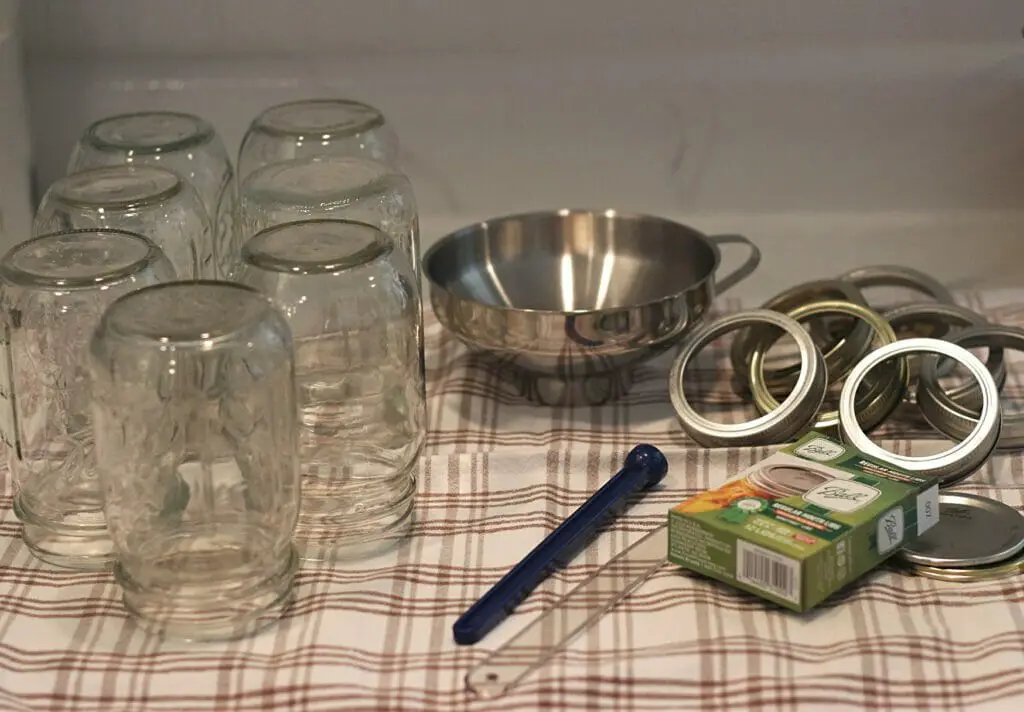
- Pressure canner
- Quart jars
- Canning lids/bands
- Funnel
- Timer
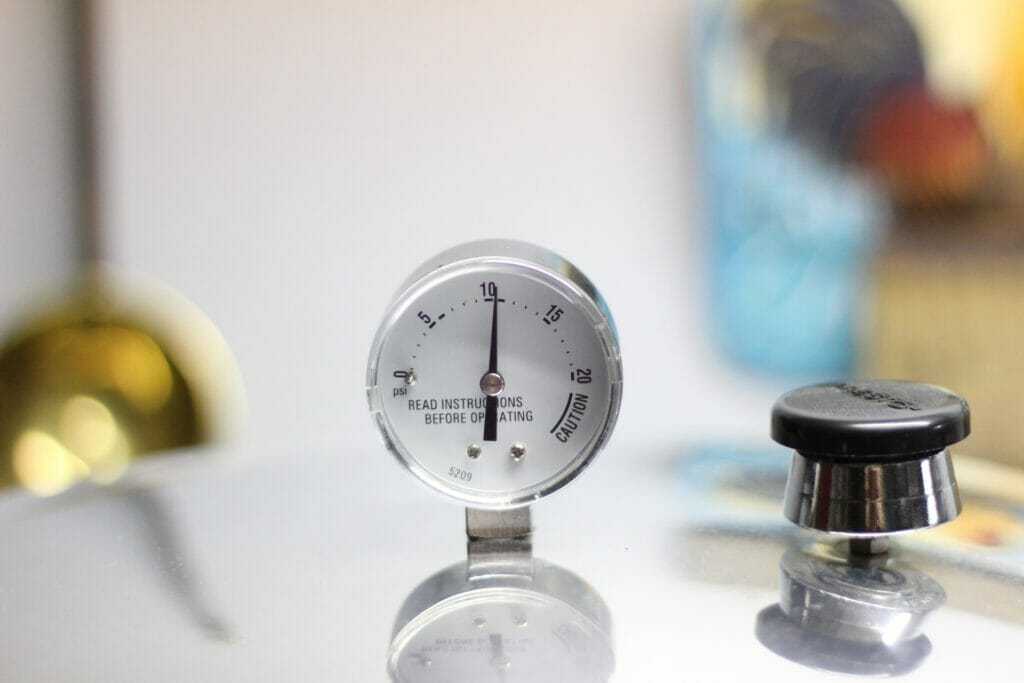
There are a few pressure canners on the market, namely the All-American Pressure Canner and the Presto Pressure Canner. While I would love an All American, they are pricey (but well worth it!). I purchased a Presto canner when I first started canning and it works quite well for what I need.
Regardless of the type of canner used, I can’t stress enough the importance of getting familiar with how your canner works. Pressure canning is very safe as long as you follow the rules.
Ingredients for canned chicken and beef
- Chicken breasts or beef roasts
- Salt
- Water/broth
That’s it! The only ingredients you need to preserve fresh chicken or beef are the meat, salt, and water (if cooking meat first).
If you prefer your meat to have browning on the outside, then you will need to cook it prior to canning or you can raw pack, which is what I prefer for simplicity. The exception to this preference is preserving ground beef, you must cook it prior to canning. Raw ground beef is very dense and canning it raw does not allow for the contents to reach the required temperature to ensure bacteria is eliminated. Plus, you would end up with a large lump of meat which does not sound appetizing at all! I have posted a recipe for canning ground beef which you can find here.
Raw pack or cooked method
This is really just your preference. I have only preserved meats the raw pack method because it is so simple. For raw pack, you cut the chicken or beef into cubes or strips, removing skin and as much fat as possible, and pack your jars leaving a 1-inch headspace. Add 1/2 tsp salt per pint and 1 tsp of salt per quart jar, a small amount of hot water or broth to the bottom, wipe the rim and add your lid and band to fingertip tightness. You do not need to fill the jar with water/broth. The meat will make its own juice while cooking in the pressure canner. I add about an inch of water/broth.
If you prefer some browning to your meat then cut the chicken or beef into cubes or strips as above, but then brown your meat in a skillet to the desired color. Do NOT cook the meat the whole way through! You only want to add color to the outside of the meat. Add the meat to pint or quart jars as above and add salt. For cooked meat you will want to add boiling water or broth leaving a 1-inch headspace.
Processing canned chicken or beef
Preparing the Jars:
Wash your canning jars, lids, and bands with hot, soapy water. Rinse thoroughly. Sterilize the jars by boiling them in water for 10 minutes, or use your dishwasher’s sterilization cycle. Keep the jars hot until you’re ready to fill them.
Prepare the Canner:
Fill your pressure canner with the recommended amount of water according to the manufacturer’s instructions. My Presto recommends adding 2-3 inches. You do not need to cover the filled jars with water. That is for water bath canning only. Be sure the canner’s rack is placed on the bottom. Place the canner on your stovetop, but don’t turn on the heat just yet.
Fill the Jars:
For Raw Pack: Simply chop your beef or chicken into desired size pieces and pack into jars. Add enough of boiled water or broth to fill 1/4 of the jar, if desired. You do not need to fill with any liquid if you don’t want to, as the beef and chicken will produce broth while processing in the canner.
For Cooked Beef/Chicken: Sear beef or chicken until just browned on the outer surface. Do not cook beef or chicken the whole way through. Chop beef or chicken into desired size pieces and pack into jars. Fill jars with boiled water or broth leaving a 1/2 inch headspace.
Wipe rim of jars with clean cloth to remove any residue.
Apply Lids and Bands:
Place new, sterilized lids on the jars. Screw on the bands fingertip-tight—don’t overtighten. This allows air to escape during processing.
Processing:
Place the filled jars in the canner using a jar lifter. Fasten the canner lid securely according to manufacture instructions, but leave the weight (pressure regulator) off for now. Turn the heat to medium-high until steam starts to escape consistently from the vent.
Venting the Canner:
If your pressure canner has a vent, follow your canner’s instructions to allow a steady stream of steam to escape for 10 minutes. This purges the air from the canner and helps maintain a consistent pressure.
Building Pressure:
Allow the canner to vent steam for 10 minutes. Then, place the weight (pressure regulator) on the vent or follow your canner’s instructions to maintain the appropriate pressure level for your altitude. Here in central PA, my pressure level is 15 psi. The pressure should rise steadily.
Processing Time:
Process the jars at the recommended pressure for 90 minutes for quart jars, 75 minutes for pints. Maintain a consistent pressure throughout the processing time. If the pressure drops below the recommended pressure, adjust heat and start the timing all over.
Cooling and Removing Jars:
After the processing time is complete, turn off the heat and allow the canner’s pressure to naturally come down to zero. Wait for the pressure indicator to drop completely before opening the canner. Use a jar lifter to carefully remove the jars and place them on a towel-lined countertop.
WHAT IF THE JAR DIDN’T SEAL?
It’s important to note that if you find a jar that hasn’t sealed properly, it’s recommended to either reprocess the jar following proper canning procedures or refrigerate and consume the contents within a few days.
And there you have it! Delicious, healthy, preserved chicken and beef ready to use! How do you use YOUR canned chicken and beef? Let me know in the comments below. Thank you for stopping by!


Hi my boyfriend’s mother canned her meat but he said when she poured it out of the jar it had a gravy . Any idea what or how to do that ?
I am new to canning meat.
Thanks Zona
Hi Zona!
Some people brown their meat, add it to the jar then add homemade gravy over it. You would still process in a pressure canner for 90 minutes.
I add beef broth (just a little bit, about 1/4-1/2 cup) per jar and process. When I use the jar of beef, I empty out the liquid first and thicken it with a thickener (flour, cornstarch slurry) and make gravy at that time.
Hope this helps!