Learn how to pressure can ground beef for a delicious protein to add to your favorite recipes and cut your meal prepping time in half!

This post may contain affiliate links. Please read my disclosure policy.
My “A-ha” moment
I have been canning for over a decade, but I have only started canning meats within the last two years. I don’t know why it has taken me so long to realize that canned meats are so delicious and always on hand to whip up a meal in minutes.
When the pandemic struck, the price of food (especially meats) began to climb. It was the fall 2021 when I was in the midst of canning my garden surplus that I realized my freezer should not be the only solution to keeping meat on hand. What if the power goes out? While I do have a generator backup to keep my cold foods safe, it is only a temporary solution. If a power grid goes down for an extended period of time, those frozen bundles will perish quickly.
By canning meats, I could have a supply of beef and chicken on hand that did not require refrigeration and also had a long shelf life. I quickly learned how to can up a batch of beef and chicken, but more on that in a future blog.
My local Weis markets has a rewards offer in which you can buy 3 pounds of 80/20 ground beef for 99 cents a pound with 300 points. I thought this is a great time to get out the pressure canner and store some ground beef on my pantry shelf.
What does it mean to pressure can ground beef?
Ground beef is considered a low-acid food. Foods low in acid need to be preserved in the pressure canned method in order to destroy harmful bacteria. Pressure canning uses steam, not water, to reach a heat above the boiling point.
As water boils in a canner with its lid on, the empty space inside the canner become a mixture of steam and air. The air comes from being inside the canner when the lid is put on and also is released from inside the jars as they are heated.
This steam and air mixture won’t get as hot as a pure steam environment, so time is given to drive all the air out to provide a pure steam environment. This is what they mean when a canning recipe calls for the steam to flow constantly from the open vent port in the lid for 10 minutes prior to pressurizing.
Temperatures of around 240 degrees are reached in a canner at 10 pounds of pressure. The heat is kept constant by maintaining the pressure gauge at the desired pounds of pressure. This, along with a specified period of cook time, is what removes the oxygen within the jars and destroys harmful bacteria.
Is pressure canned ground beef healthy?
Home preserving allows you to control what is actually in your food. Commercial canned beef is typically made from low quality beef and has a ton of salt and preservatives added. When you can your own ground beef, you control the amount of salt used (if any), the quality of beef, and the amount of fat.
What can you do with pressure canned ground beef?
There are so many options! You can use canned ground beef in any of your favorite ground beef recipes. The only difference is that you don’t need to cook the beef. Whip up a batch of tacos or nachos in no time. Add ground beef to homemade or jarred spaghetti sauce and heat it up for a quick spaghetti with meat sauce dinner. Make a batch of delicious chili in minutes and my personal favorite is a pan of homemade sloppy joes with a side salad and roasted potato fries on a weeknight. The list is endless!
How much ground beef do you need?
I like to can ground beef into pint jars. For me, they are easier to use than a whole quart. Depending upon how much you want to store, I have found that six pounds of ground beef makes approximately seven pints processed. My pressure canner holds fourteen pints/quarts if I use a center rack.
Raw pack or pre-cook?
When canning regular cubed beef or chicken, I find raw pack easy and effective. However, I prefer to pre-cook ground beef prior to canning. Pre-cooking ground beef gives a better texture because the beef breaks up into smaller pieces. Raw packed methods will end with large chunks of beef. Also, pre-cooking allows you to remove most of the fat, giving you a lean product. Both will work, so the choice is yours.
Items needed to pressure can ground beef
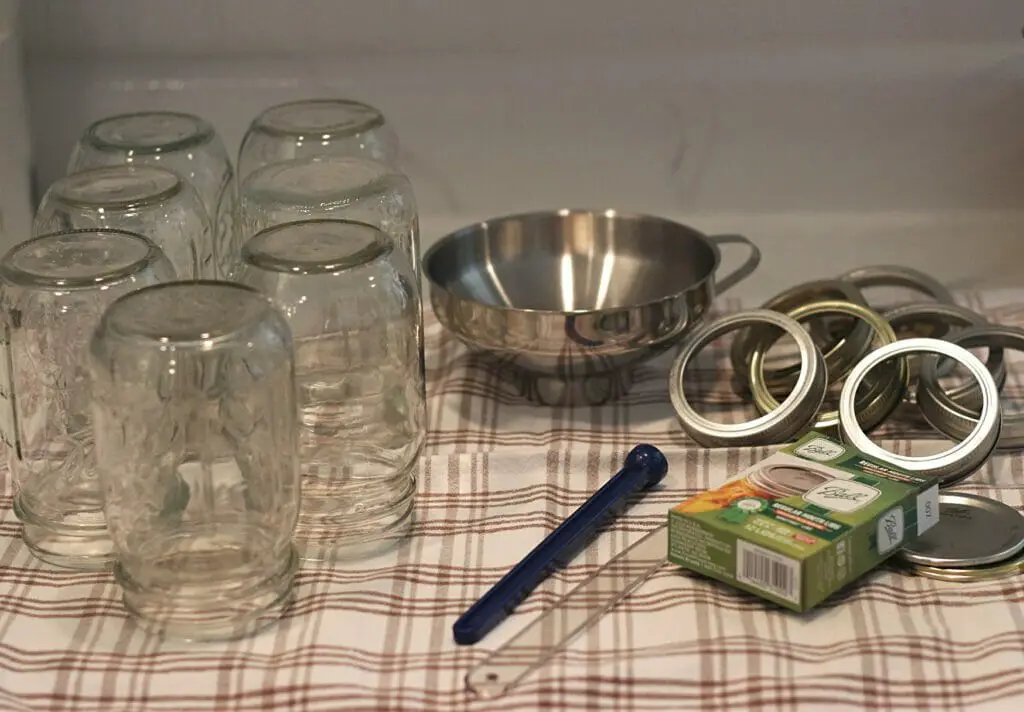
- Pressure canner – I use this one
- Pint jars
- fresh canning lids
- canning rings
- funnel
- timer
- stock pot
- colander
- ground beef
- salt (optional)
- pot with boiling water
- white vinegar
- clean towels
How to pressure can ground beef
Place you jars in the dishwasher to clean or clean by hand with soap and water. The jars do not need to be sterile.
Fill pressure canner with recommended amount of water; usually this is 3 inches of water. Place on stove and begin to heat the water.
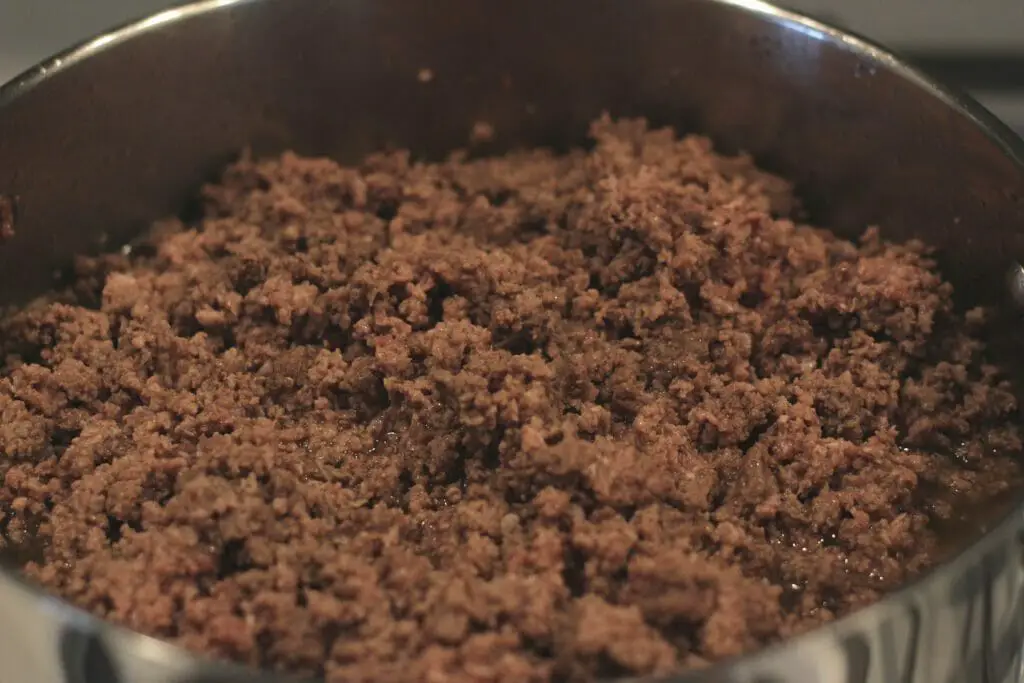
In a large stockpot, add the ground beef and cook until nicely browned, breaking up into pieces as it cooks (Note: it does not need to be completely cook through).
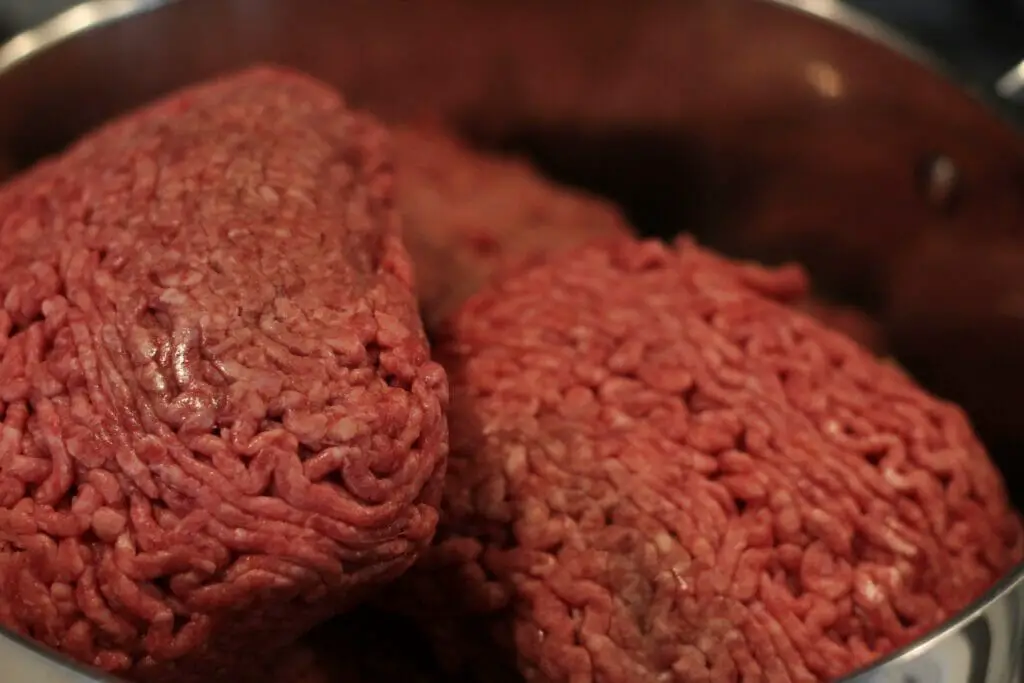
Drain beef in a colander and rinse to remove excess fat.
Place canning lids into a bowl of hot water to soften the rubber seal.
Fill the jars with ground beef to 1-inch headspace from top of jar. Use a butter knife or plastic spatula to remove air bubbles and pack hamburger into jars more densely.
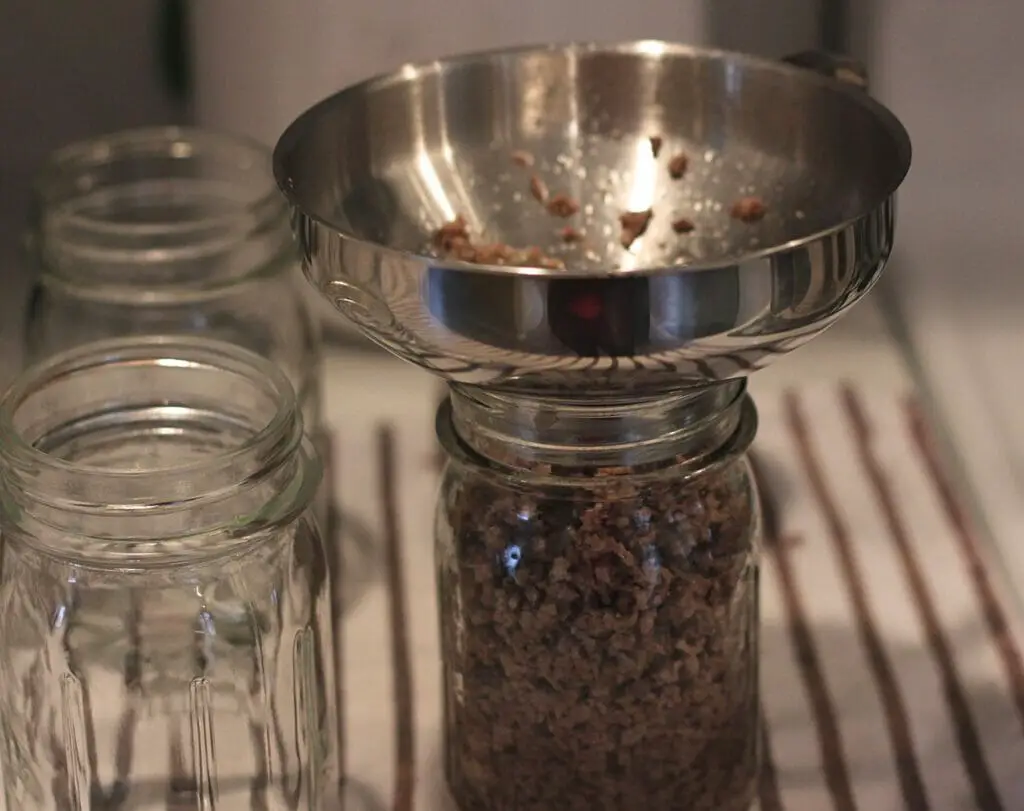
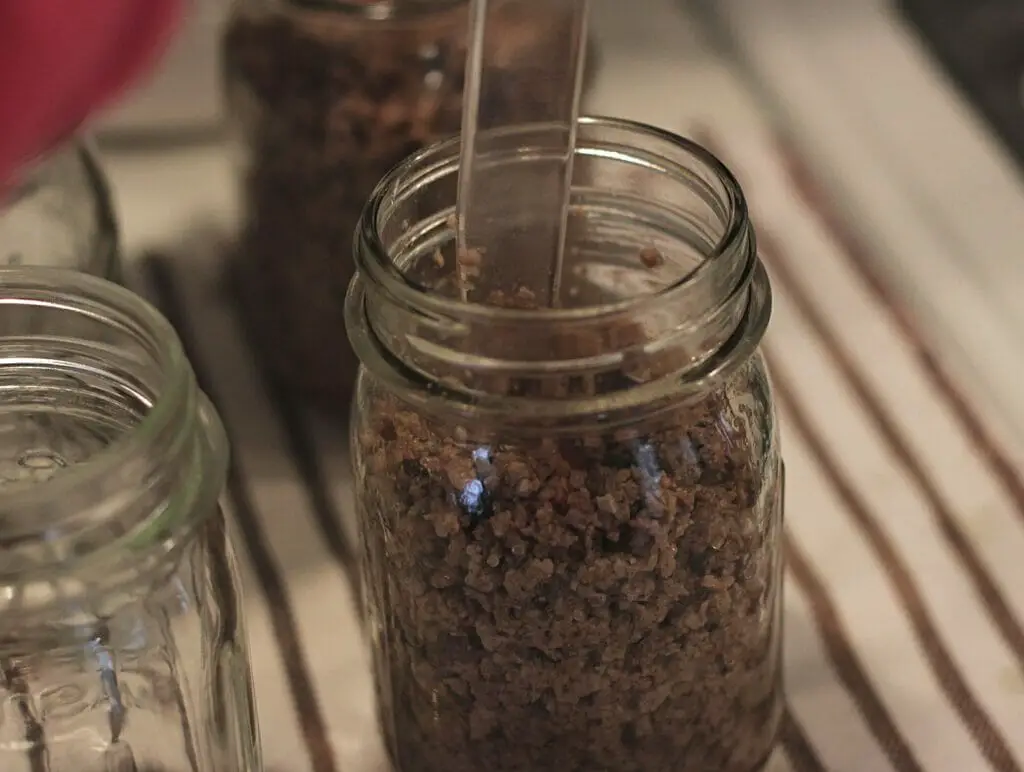
Add 1/2 teaspoon salt to each jar if desired.
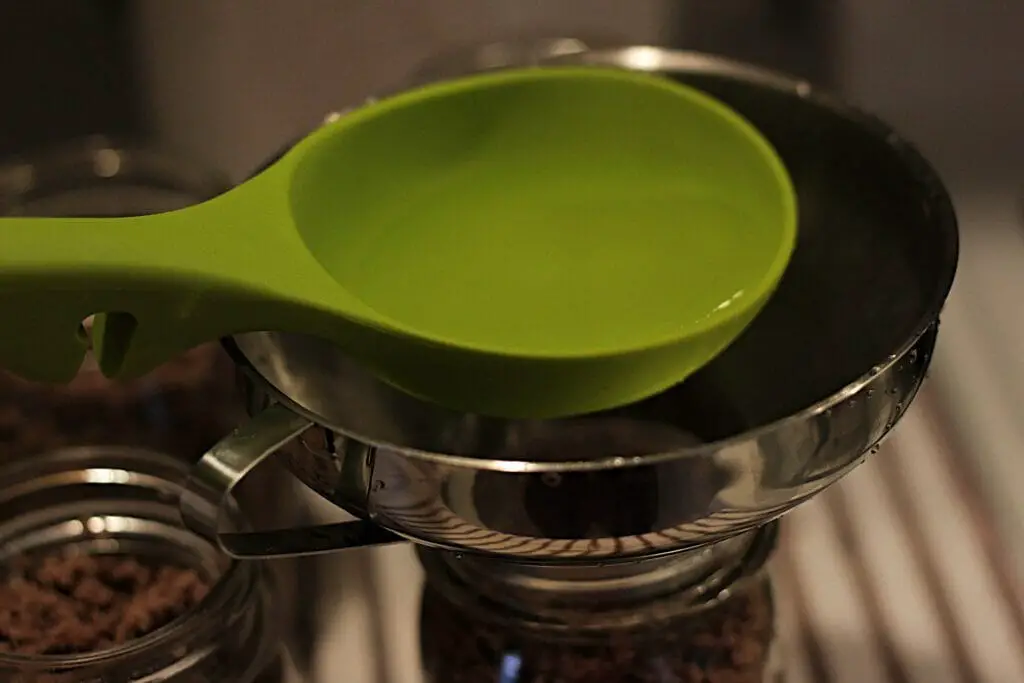
Ladle each jar with boiling water leaving a 1-inch headspace from top of jar. Again, use spatula to remove air bubbles.

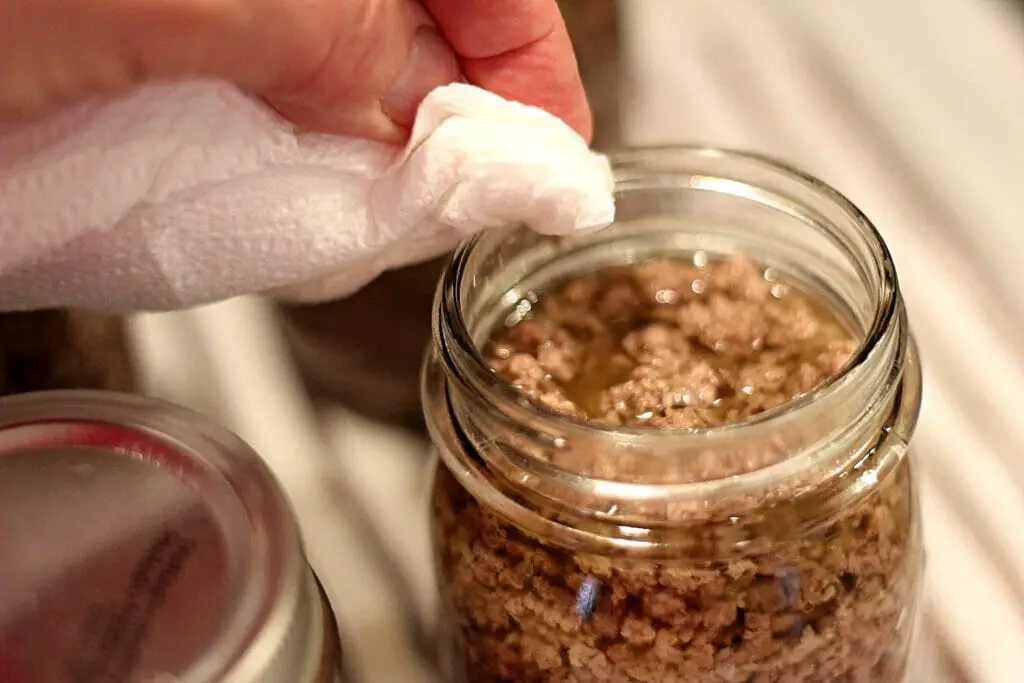
Wipe the rim of each jar with a clean towel dipped in white vinegar to remove any residue.
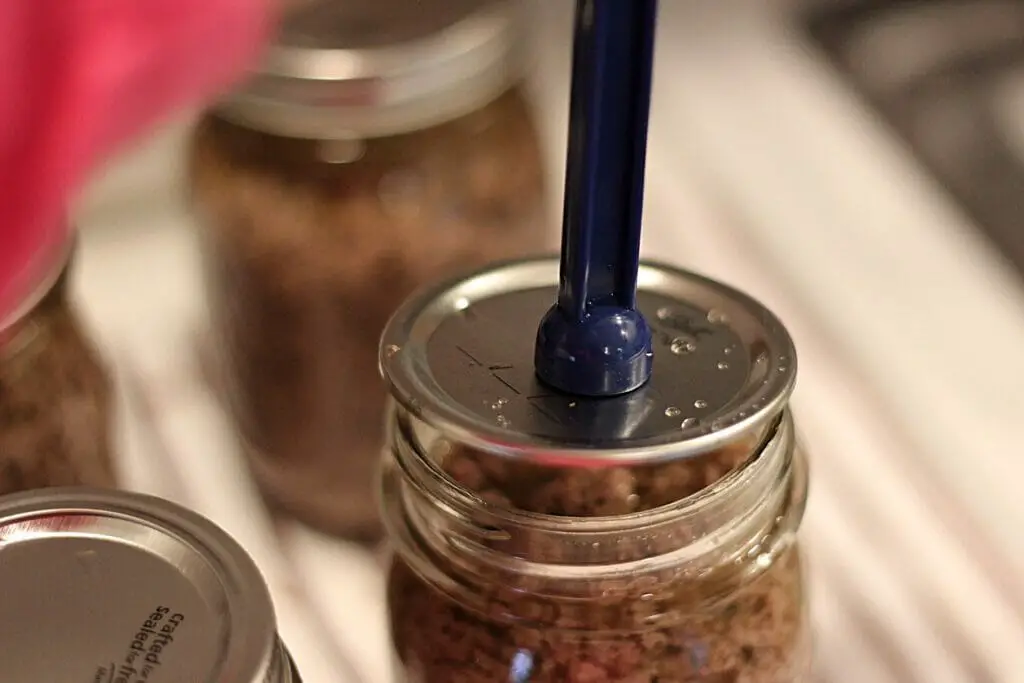
Place canning lid on top of each jar and screw band on to finger tightness.
Processing ground beef
Place jars into canner and then place the canner lid on according to instructions.
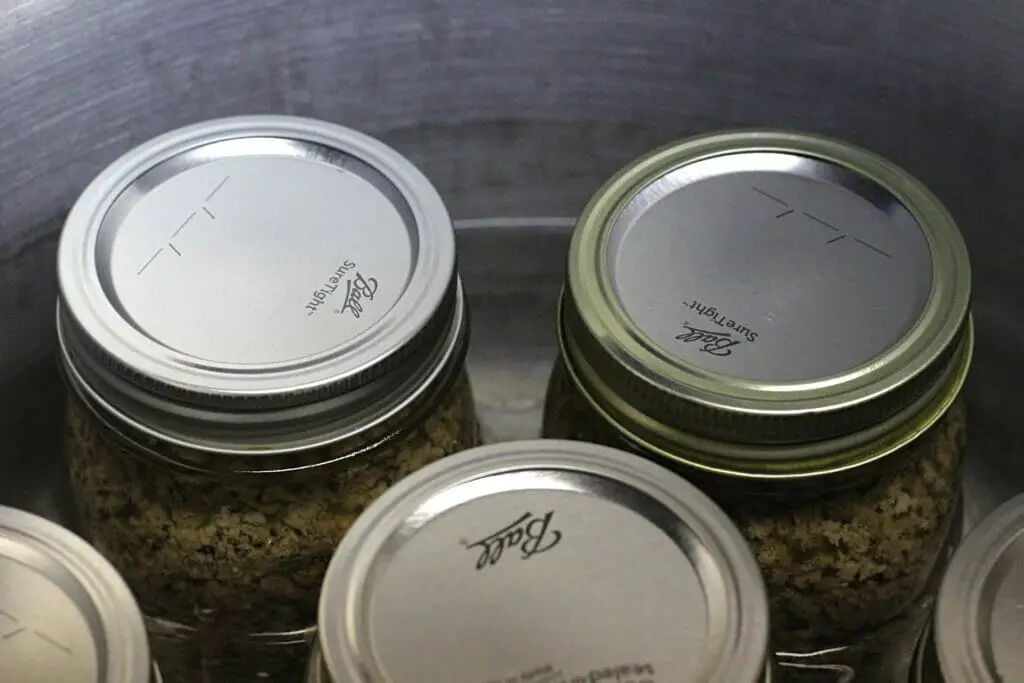
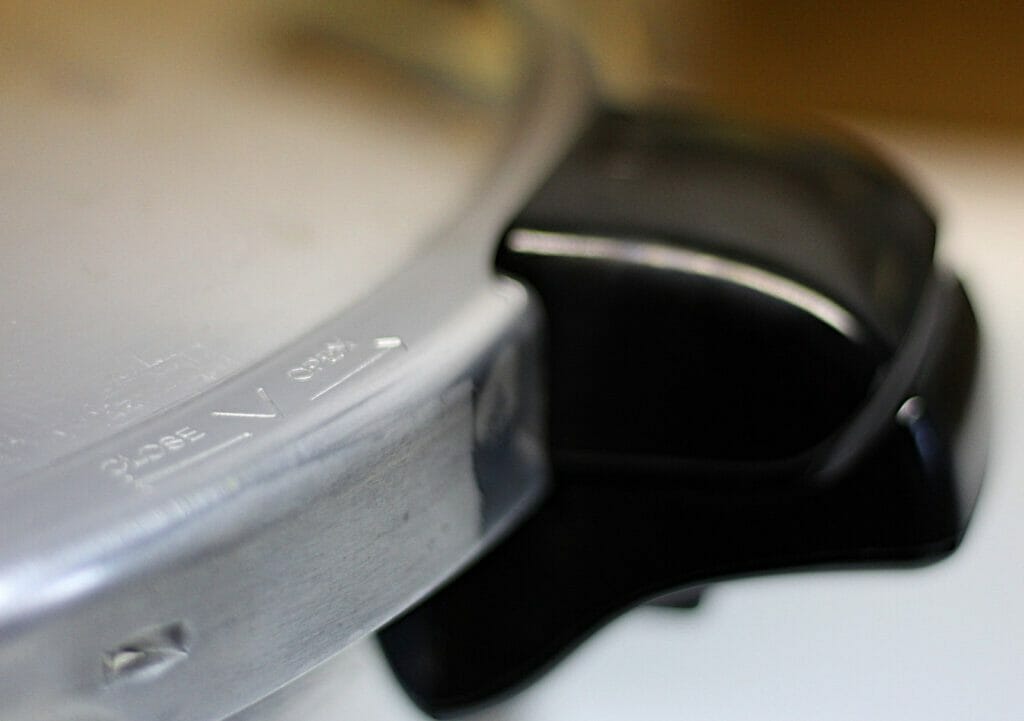
Heat the canner until steam is coming in a constant stream from the vent on the lid. Begin timing for 10 minutes. (Note: if steam stops or does not continue at a constant rate, wait until it is constant and start timing from that point)
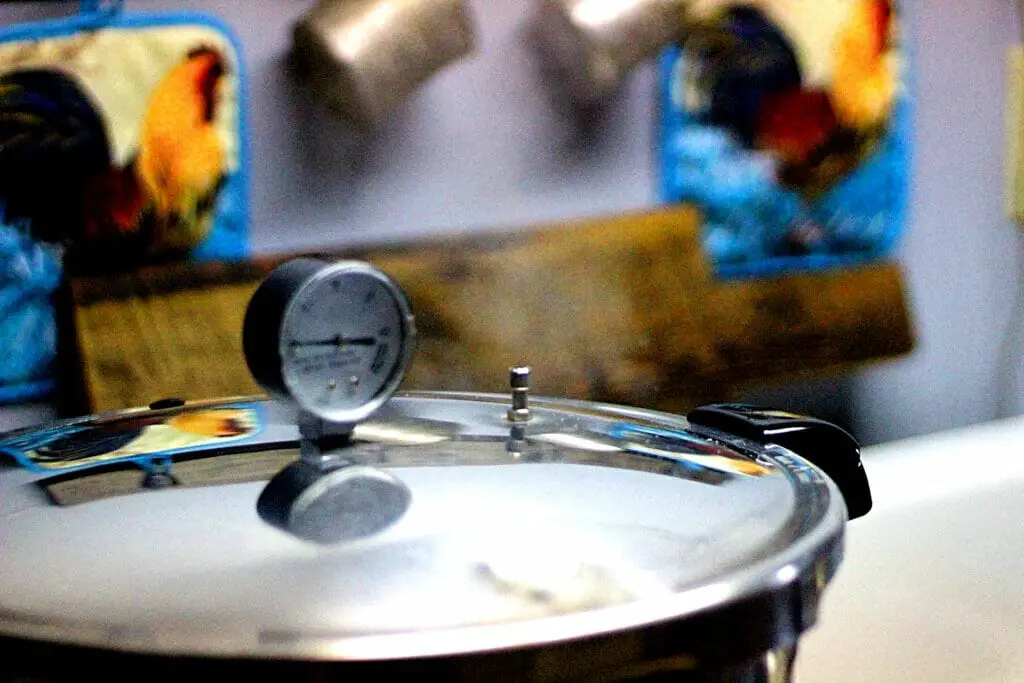
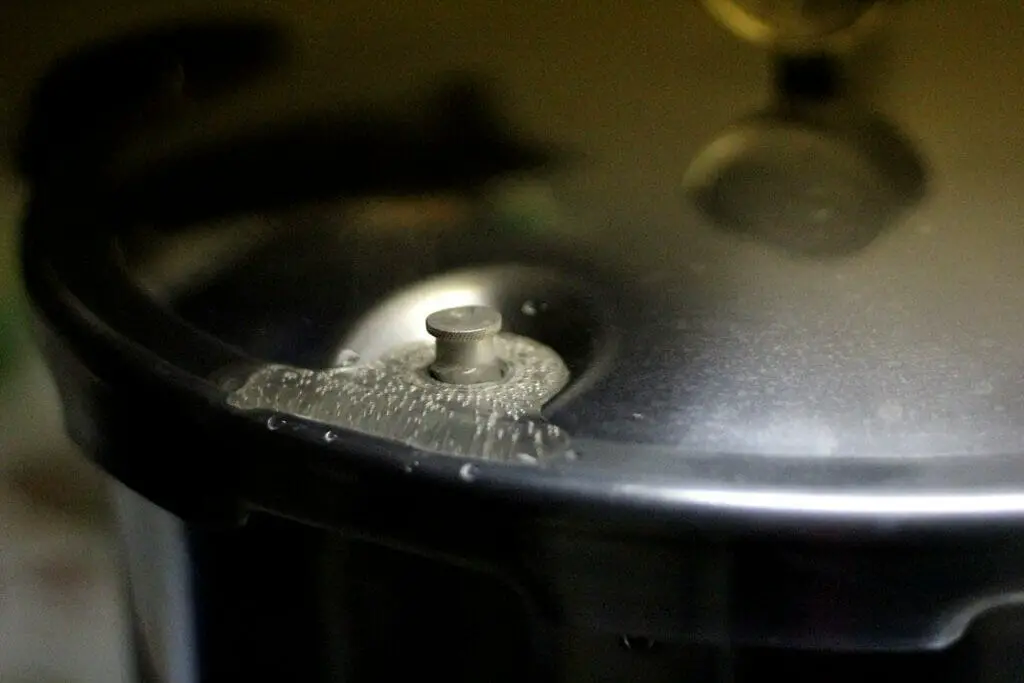
Once full steam has been venting for a full 10 minutes, add the weight to the vent spout. Mine is only one weight, but some canners have optional pounds. Use 10 pounds of weight. And YES! Everyone needs a hamburger timer!

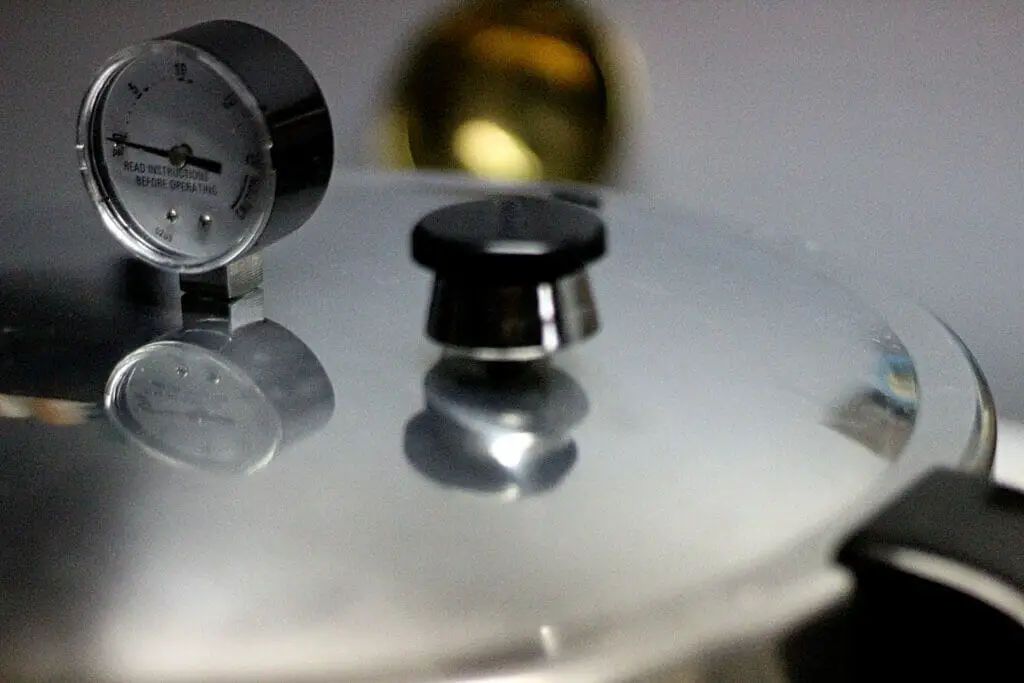
Carefully watch the gauge on the lid begin to rise until it reaches 10-11 pounds of pressure.
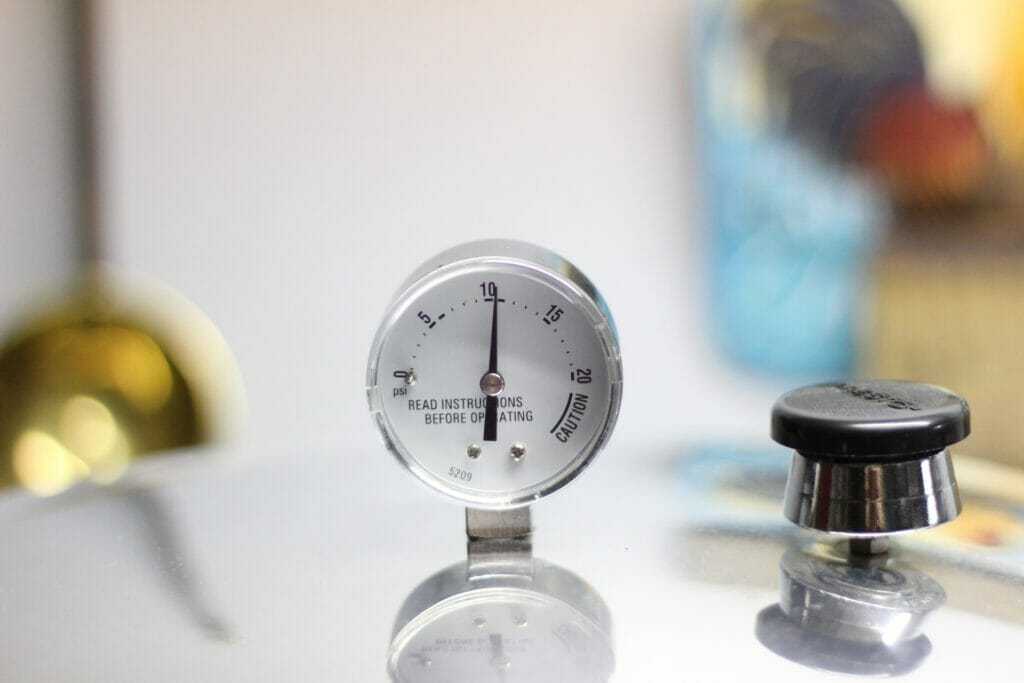
When the gauge reaches 10 pounds and does not waver, begin process timing: 75 minutes for pint jars and 90 minutes for quart jars. (Note: if pressure drops during any time, adjust heat level and bring the pressure back to desired level. Start timing of the process over at this point)
When process time of complete, turn the heat off and allow the pressure to come down naturally. Do NOT remove the weighted gauge. This can cause rapid pressure release and jar breakage!
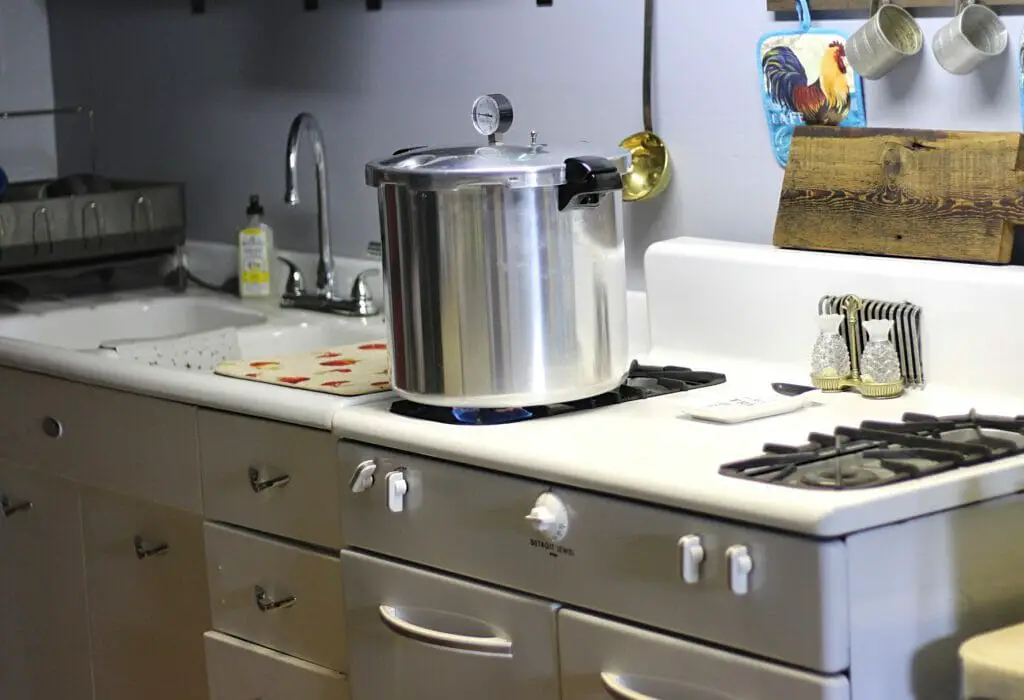
Here is a picture of my garage canning station that I installed last year! I found the sink for free at a local neighbor’s house and the stove for $100! SQUEE!
Once pressure is at zero, remove the weighted gauge. Allow another 10 minutes prior to opening lid.
Always open the lid away from you so that steam and hot water does not burn you. Allow jars to cool another 15 minutes before removing.
With jar lifter, remove jars and allow to cool for 24 hours in a draft-free area.
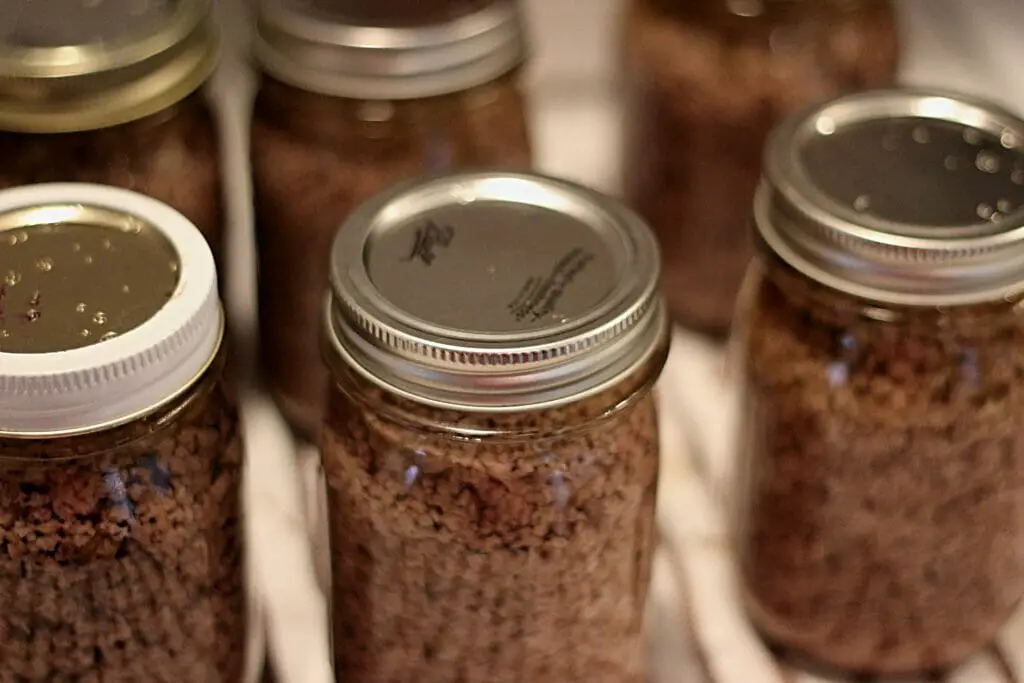
Remove bands and wipe jars with clean towel. Label the lid with your content goodies and date made!
And there you have it! Delicious, healthy, home-canned ground beef ready to use! How do you use YOUR canned ground beef? Let me know in the comments below. Thank you for stopping by!


Leave a Reply