This post may contain affiliate links. Please read my disclosure policy.
A single farmhouse shiplap room can cost anywhere from $500-$1500. Using plywood planks or a simple sharpie pen, you can create beautiful farmhouse shiplap walls at a fraction of the cost of shiplap boards. If you want farmhouse shiplap but don’t want to pay the price of the real thing, then check out these two inexpensive ways to get a farmhouse shiplap look. And you can complete these looks all on your own over the weekend!
I wanted the look of shiplap but the price of real shiplap was out of my league. What I found is that I could get the look of shiplap using plywood! I wanted to accent the living room wall with shiplap to give my home that farmhouse feel. Over the years, this wall has taken much abuse by me with varying wall decor and paint styles. Shiplap is a great way to cover all of those old imperfections.
What is Shiplap?
Shiplap is a wooden board that was historically used to construct houses, sheds and barns. These boards were rough-sawn, approximately 1″ thick, and usually made from inexpensive pine. Traditional shiplap has a groove (rabbet) on the top and bottom that fit the boards together like a puzzle to form a tight seal. Shiplap was anywhere between 3-10″ in width.
In today’s economy, real wood shiplap has skyrocketed! Luckily, I found two ways to give my home the traditional look of shiplap without breaking my piggy bank.
Inexpensive Farmhouse Shiplap #1 – Plywood
I purchased 1/4-inch plywood sheets from Lowes and had them cut the sheets into six inch wide “boards”. They will do this for you at low or no cost. Nice, smooth plywood sheets cost around $20-$30 per sheet. Next, I prepared the wall by painting it the color that I wanted to paint the boards. And yes, that is 3 different paint colors on that wall…how embarrassing!
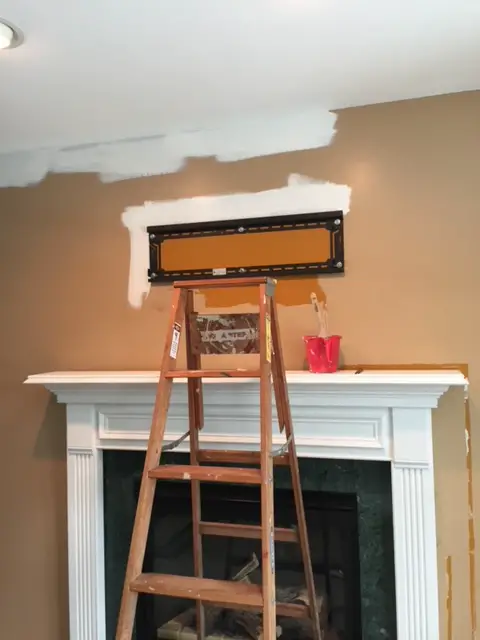
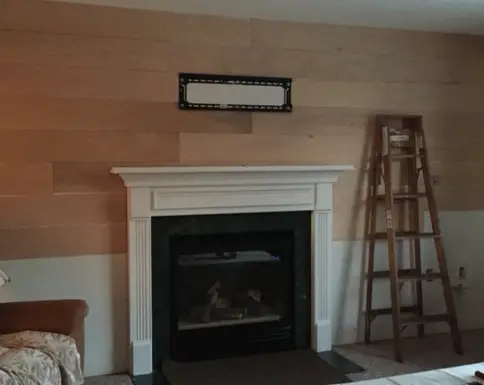
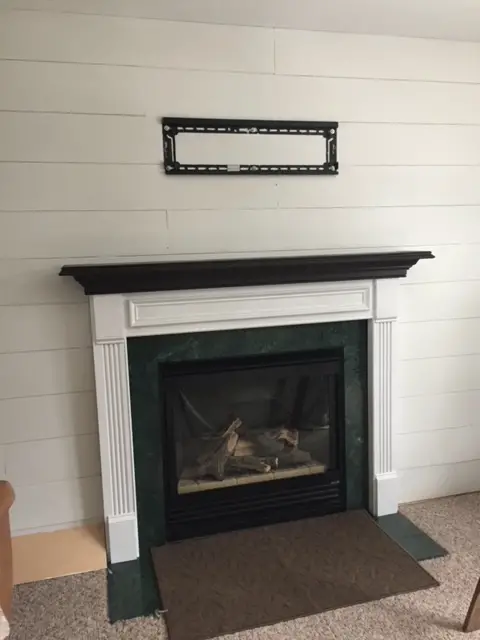
Starting at the top, measure down six inches and mark the wall across, making sure the bottom marks are level. When you attach your first boards, line up the bottom of the board to these marks. If your wall is crooked, you may need to trip the top to fit. Continue across and down your wall, staggering your board end joints if your wall is long. I used a nickel as a spacer in between boards, which gave the perfect depth and 1 1/2-2 inch brad nails to secure the plank to the wall. Finish your project by painting your wall taking care to coat the gaps between the boards.
Tools Needed for Shiplap #1
- 1/4-inch plywood cut to six-inch wide boards
- Paint (I used Sherwin-Williams in Alabaster)
- Measure Tape
- Air compressor with brad nail gun (this is the one I have)
- Level
- Pencil
Inexpensive Farmhouse Shiplap #2 – Sharpie Pen
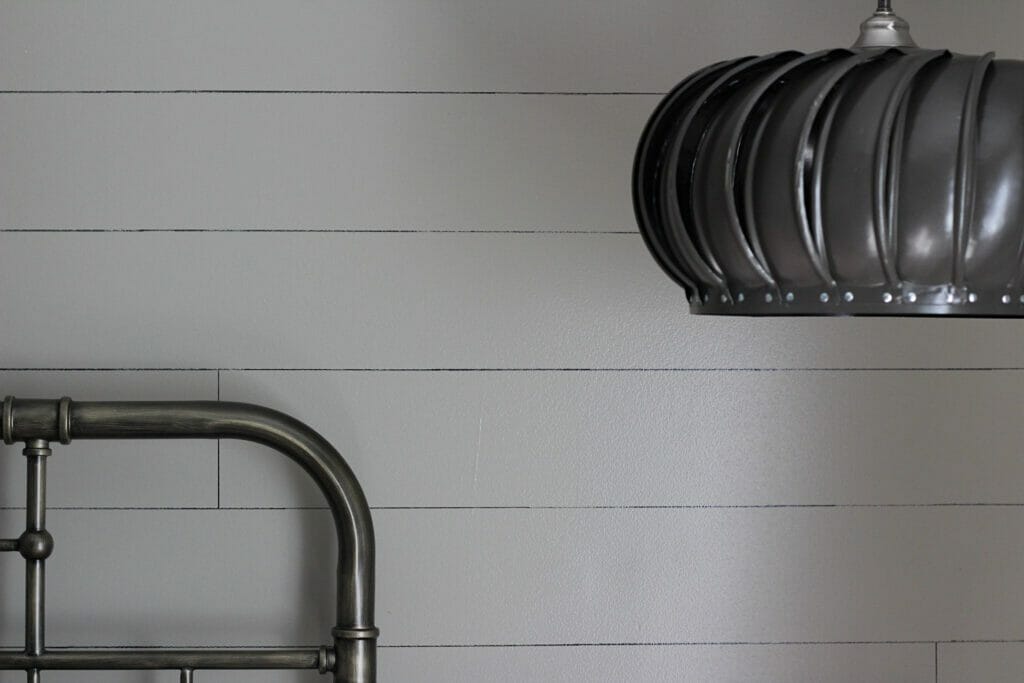
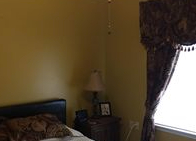
A sharpie pen is perfect for creating a shiplap look on any wall. I wanted a shiplap accent wall in my bedroom makeover but didn’t want the commitment of nailed boards to the wall. Using a sharpie pen I created a shiplap look that can simply be painted over in the future. This is the old color. Sorry for the fuzzy pic but it’s the only one I could find.
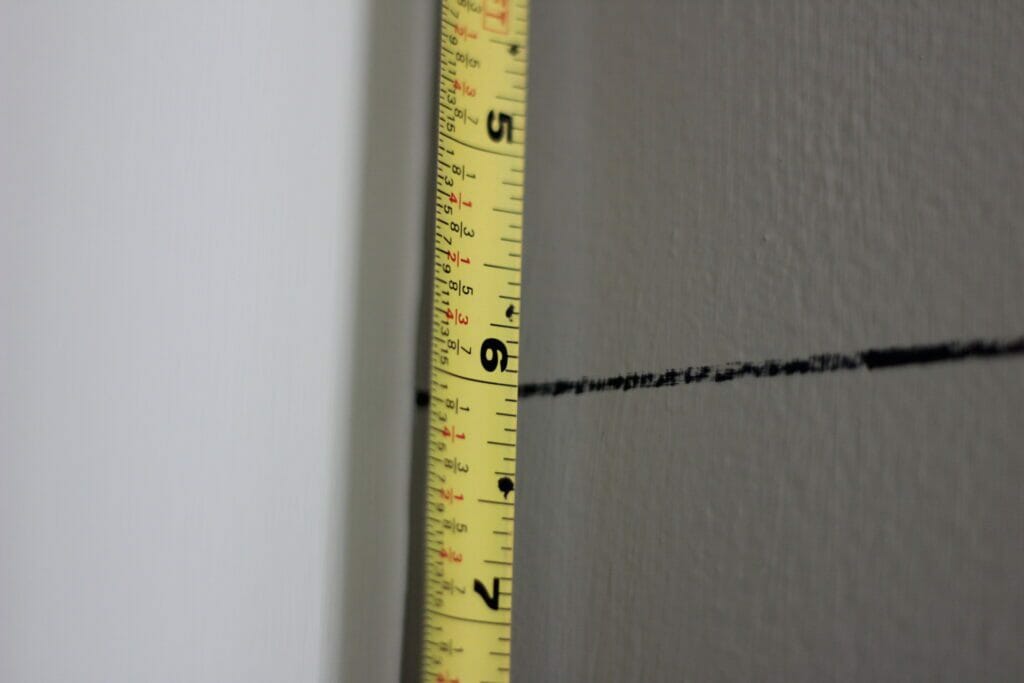
First, paint your wall the color of your choice. White is the most popular choice, but you can use any color (except black, of course). I chose a medium gray. Starting at the top, mark the wall at six-inch intervals down to the base using a pencil. To ensure uniformity, mark across the wall six inches from the top and ensure the lines are level across.
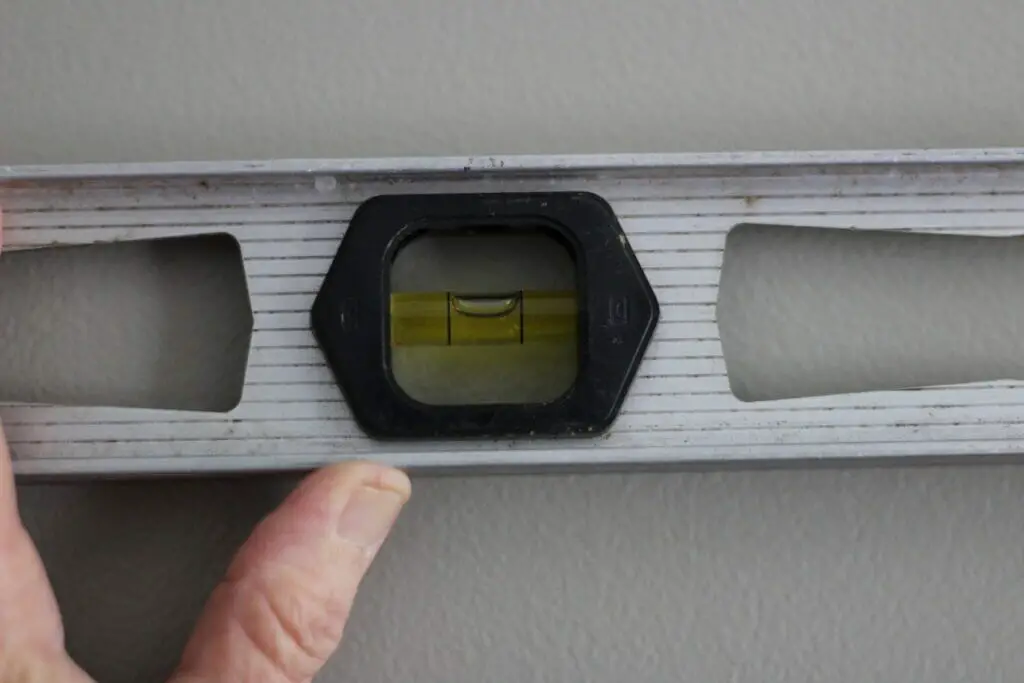
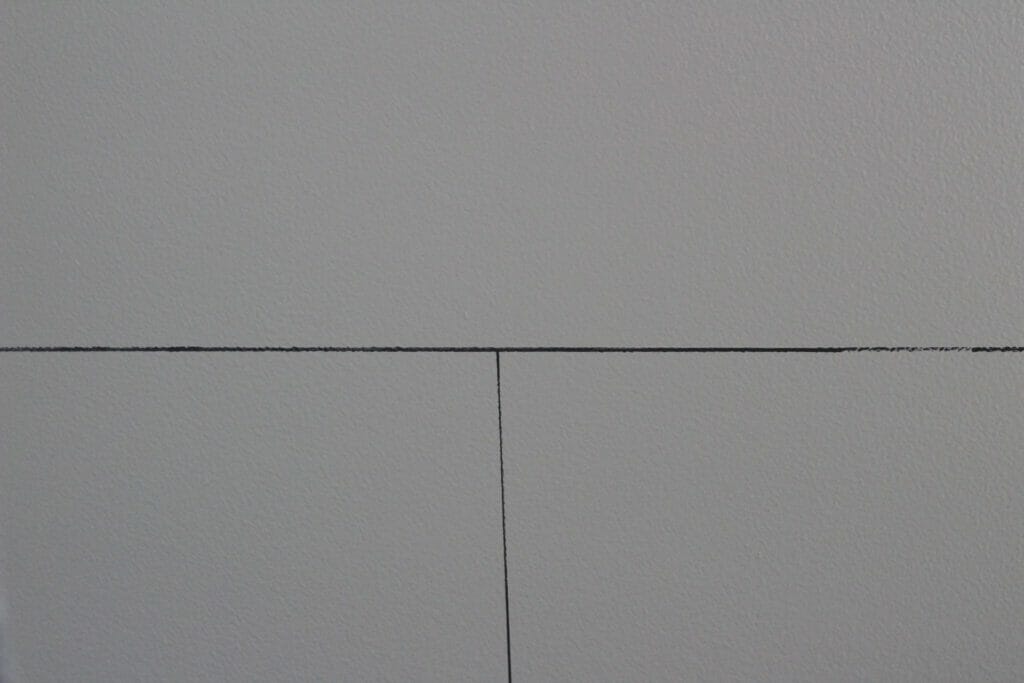
Using a level, draw a line across the wall. You can use a pencil if you are unsure of your line then retrace with the sharpie. Don’t worry if you make a mistake, you can simply paint over it and try again. I gave my wall some vertical lines to look like separate planks.
Tools Needed for Shiplap #2
- Sharpie pen
- Two-foot level
- Measure Tape
- Paint (I used Sherwin-Williams in Jogging Path)
- Pencil
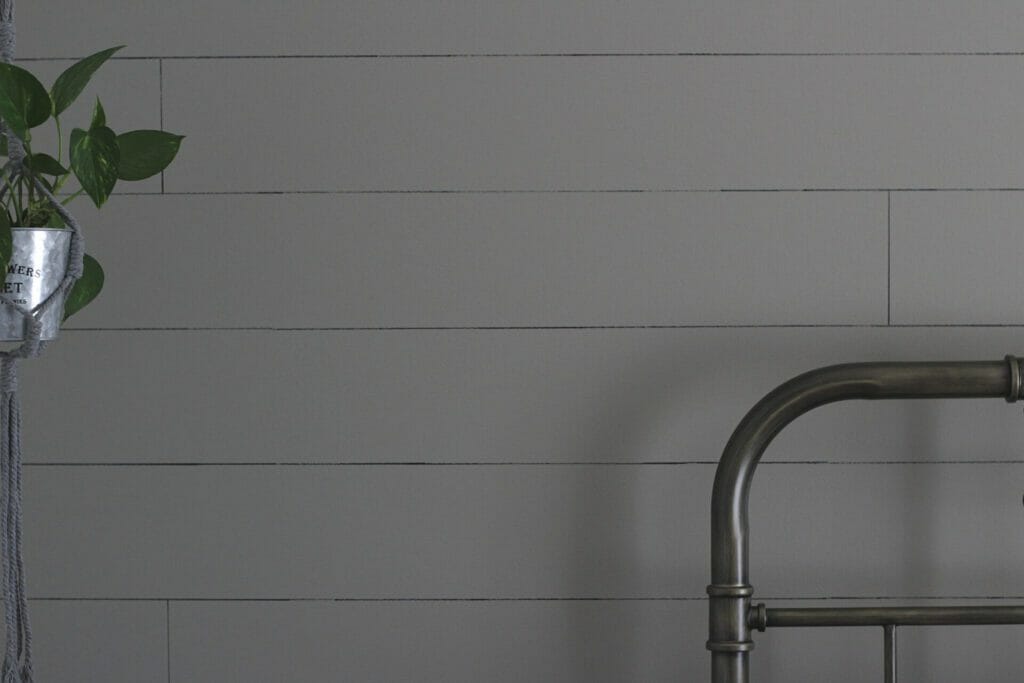
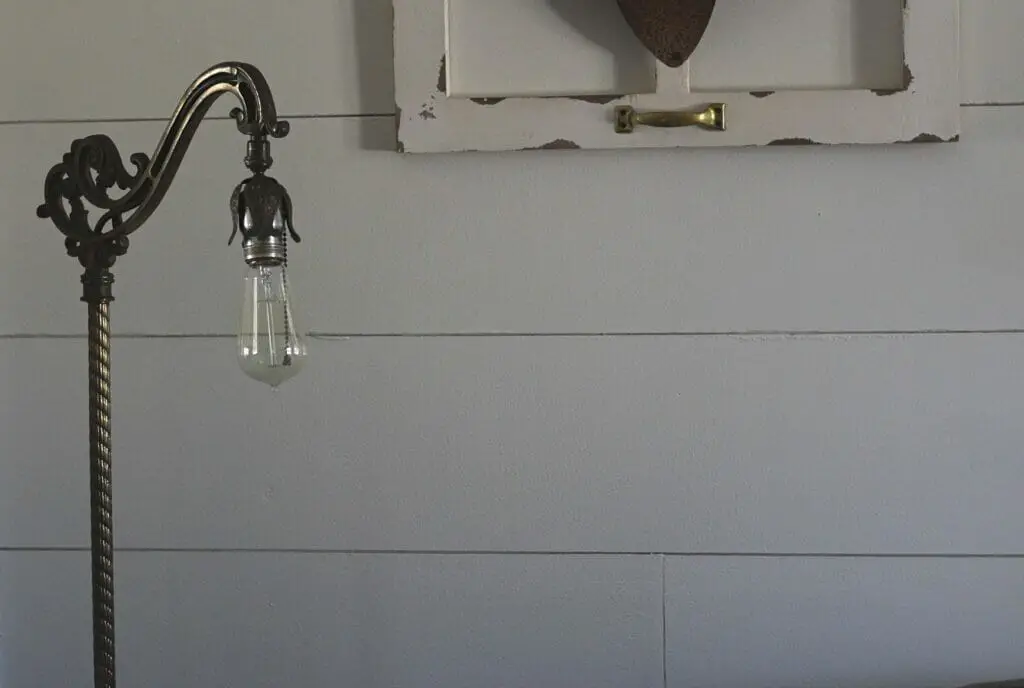
This is the finished plywood shiplap up close:

And this is the sharpie shiplap up close:
Would I do it again?
Absolutely! I completed both of these projects myself without much difficulty. The plywood shiplap took about a weekend to complete while the sharpie shiplap took a day. I think both turned out pretty good! What do you think? Have you tried either of these methods? Let me know in the comments below. Enjoy!


Leave a Reply