
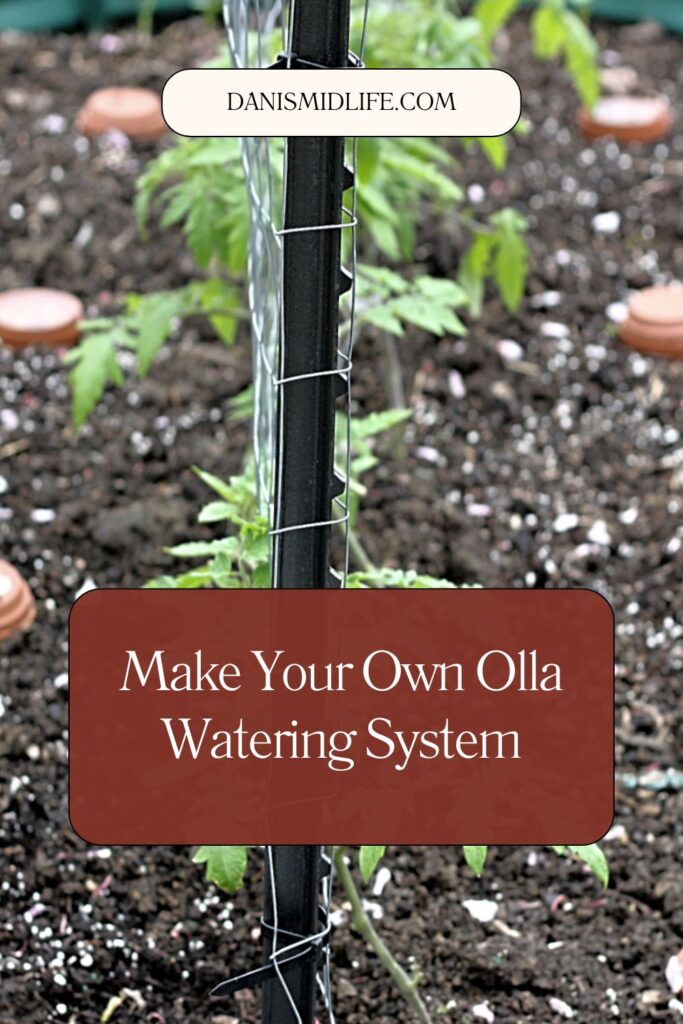
DIY Terracotta Pot Irrigation
If you’re tired of dragging hoses, setting timers, or watching your raised garden beds dry out during a heatwave, there’s a simple, time-tested solution you can make yourself: terracotta pot irrigation.
Also known as ollas (pronounced “oh-yahs”), this ancient watering method dates back thousands of years and is still incredibly effective today. It’s sustainable, low-maintenance, and surprisingly easy to DIY. Here’s everything you need to know to make and use your own terracotta pot watering system in your raised garden beds.
This post may contain affiliate links. Please read my disclosure policy.
What Is a Terracotta Pot Irrigator?
A terracotta pot irrigator works on the principle of slow seepage. You bury a porous clay pot in your garden soil, fill it with water, and let nature do the rest. The water gradually seeps through the walls of the pot, directly into the surrounding soil, right at the root zone—where your plants need it most.
This method helps reduce water waste due to runoff or evaporation and encourages deep root growth.
Benefits of Using Terracotta Pot Irrigation
- Water Efficiency: Uses less water by delivering it where it’s needed most.
- Low Maintenance: Fill once or twice a week, depending on climate and plant needs.
- Improved Plant Health: Promotes steady moisture and reduces stress from over- or under-watering.
- Budget-Friendly: DIY options are inexpensive and long-lasting.
- Eco-Friendly: No electricity or plastic required.
DIY Guide: How to Make Terracotta Pot Irrigators
Materials Needed:
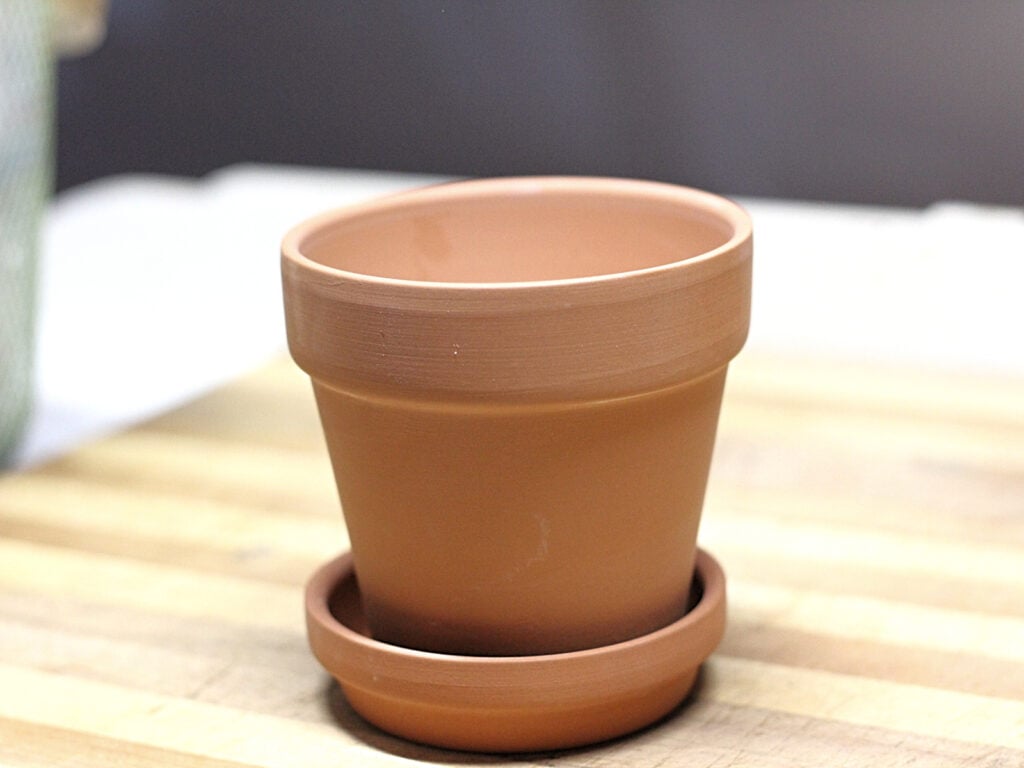
- Unglazed terracotta pots (same size, 4–10 inches tall works well) I purchased this bundle of 4-inch pots with saucers (lids).
- Terracotta saucers or tiles (optional, for lids)
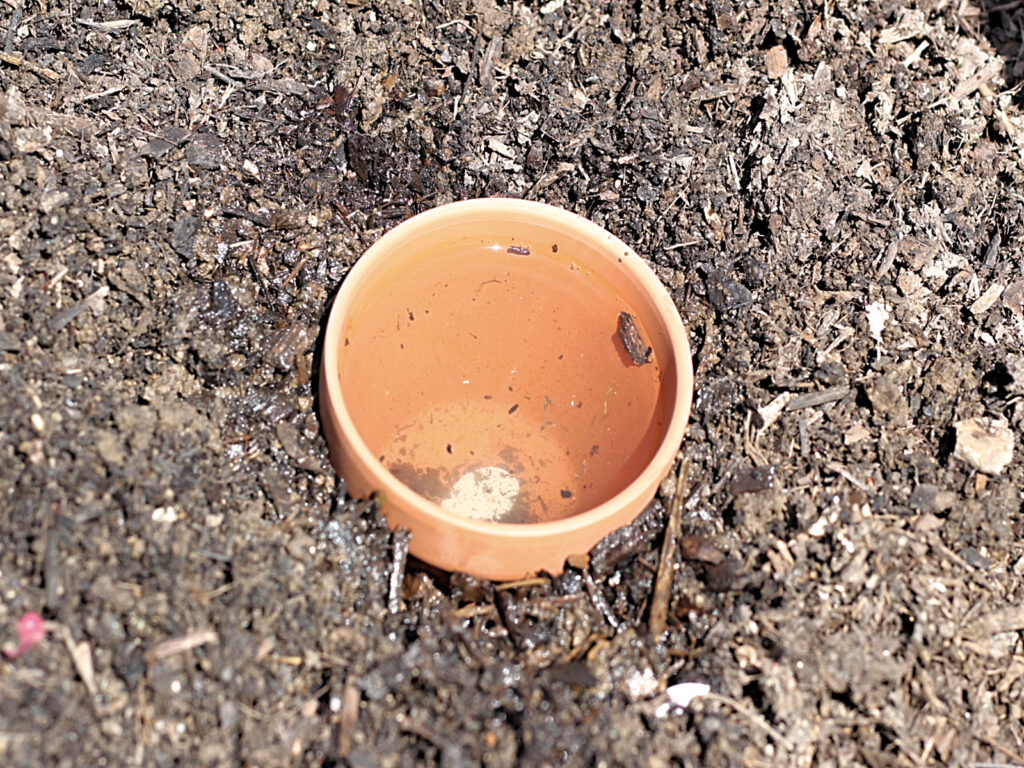
- Waterproof silicone caulk or marine epoxy to plug the drainage hole (I used plumber’s putty)
Getting your terracotta pots ready:

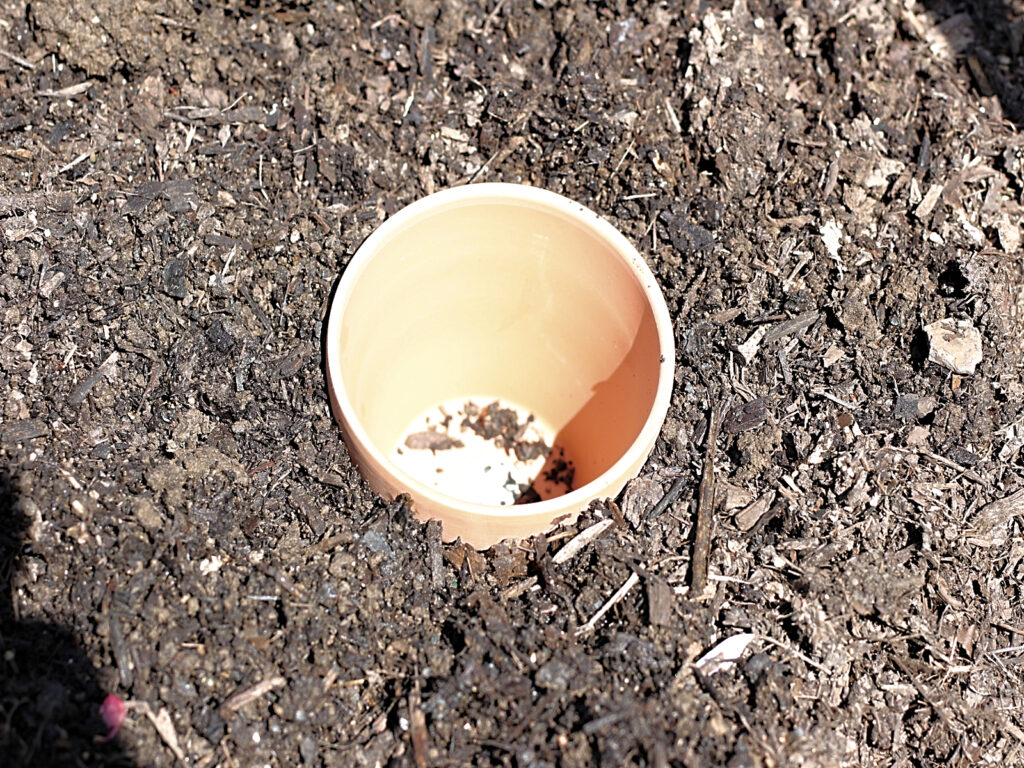
- Seal the drainage hole in each pot with caulking or putty. Some people place a bit of concrete in the bottom to permanently seal.
How to Use in Your Raised Garden Bed
- Dig a Hole
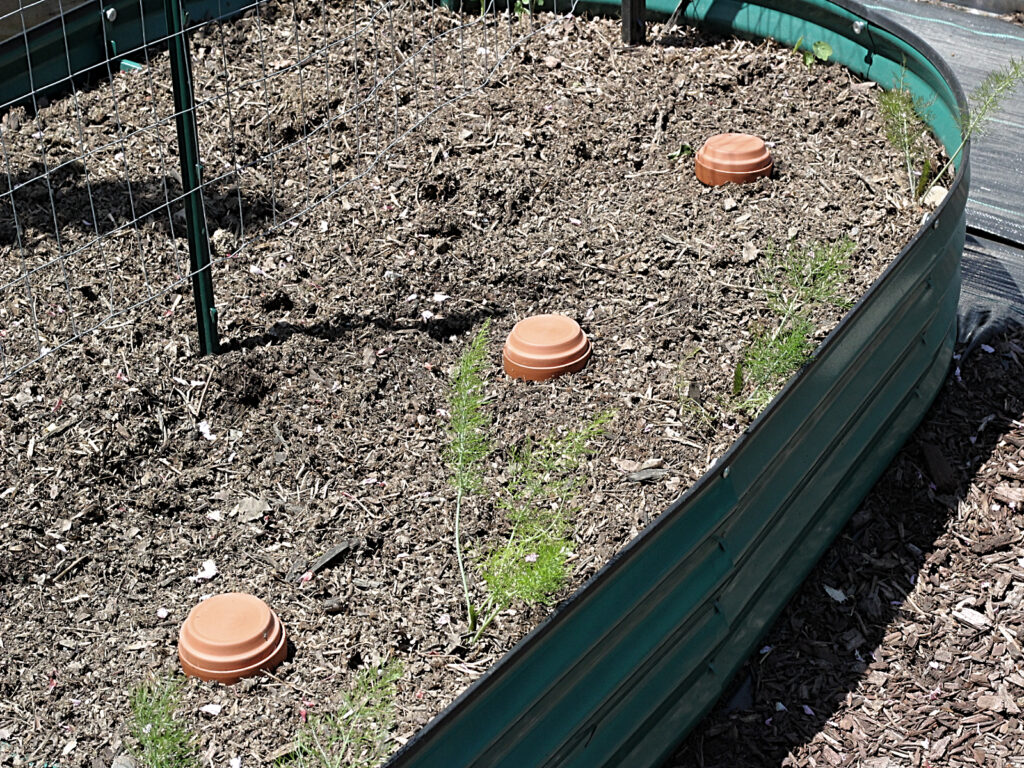
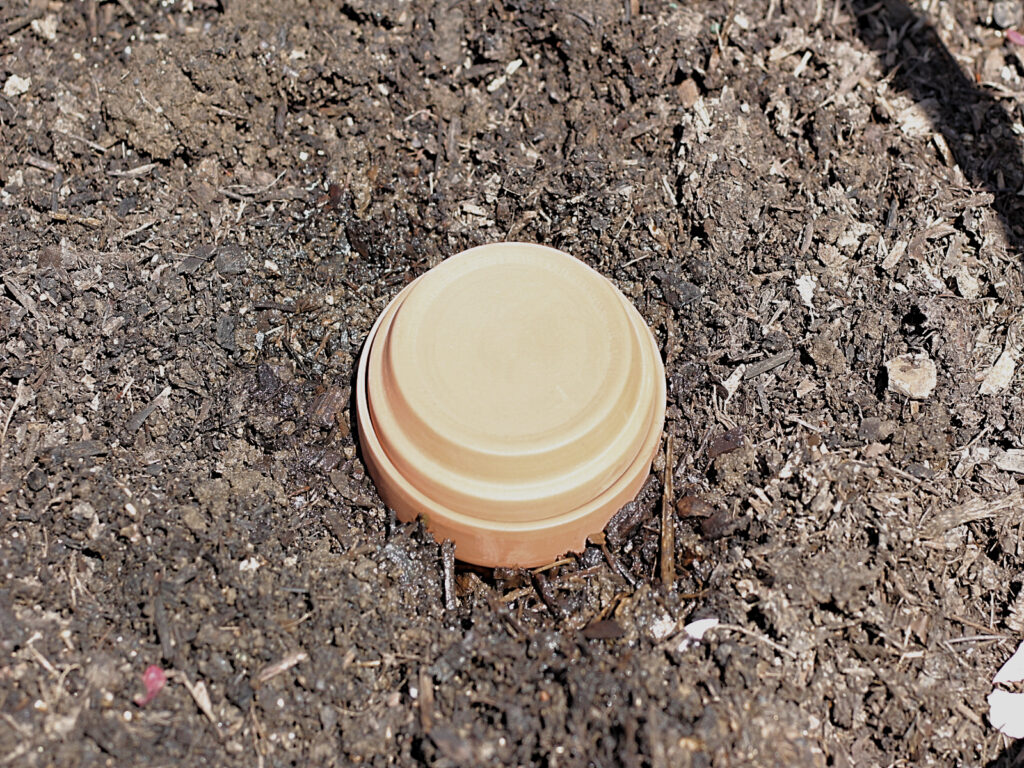
Dig a hole deep enough in your raised bed to bury the olla, leaving the top inch or so above the soil line. - Place and Fill
Place the olla into the hole, pack soil firmly around it, and fill it with water. Cover the top with a lid. - Monitor and Refill
Depending on weather and plant needs, refill every 3–5 days. Check the soil moisture nearby to gauge how well it’s working.
Pro Tips
- Spacing: One 8–10″ olla typically waters about 2–3 feet in diameter.
- Grouping: For large beds, use several pots evenly spaced.
- Winter Care: Remove and store the pots before the first freeze to prevent cracking.
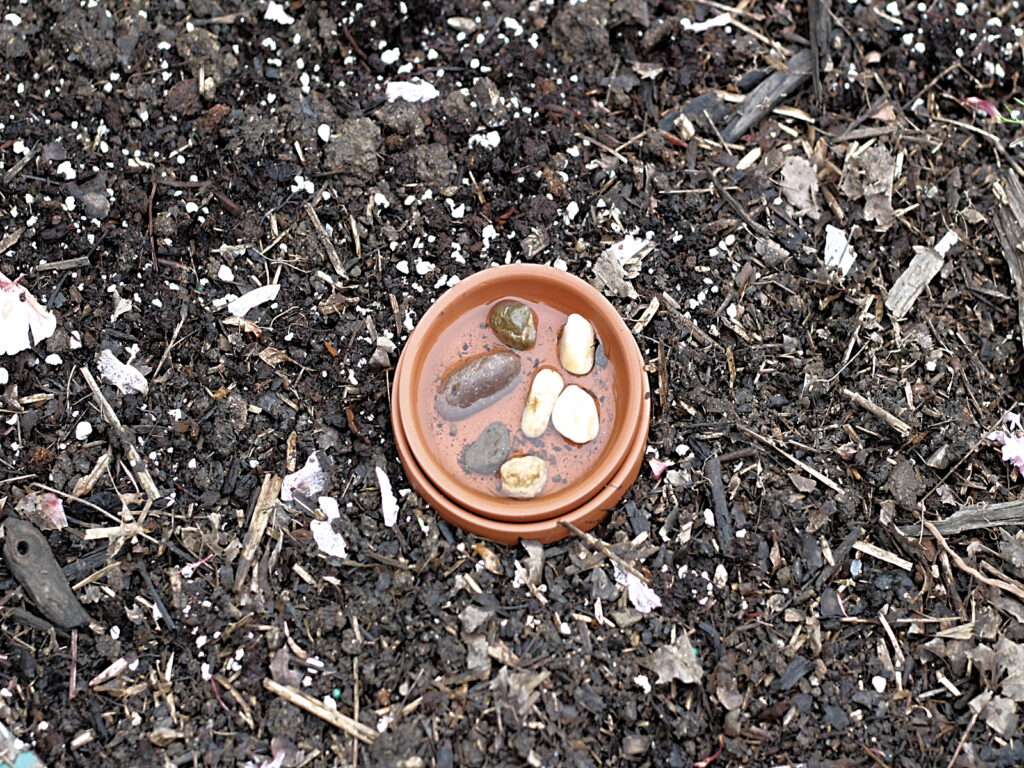
- BONUS: Place the saucer right-side up over the olla and fill with pebbles and water for a perfect pollinator watering station.
DIY terracotta pot irrigation is a smart, sustainable way to care for your raised garden beds. Whether you’re growing veggies, herbs, or flowers, this ancient technique can help you save time, water, and effort—while keeping your plants happy and healthy.
Give it a try, and your garden might just thank you with a bumper crop this season!


