
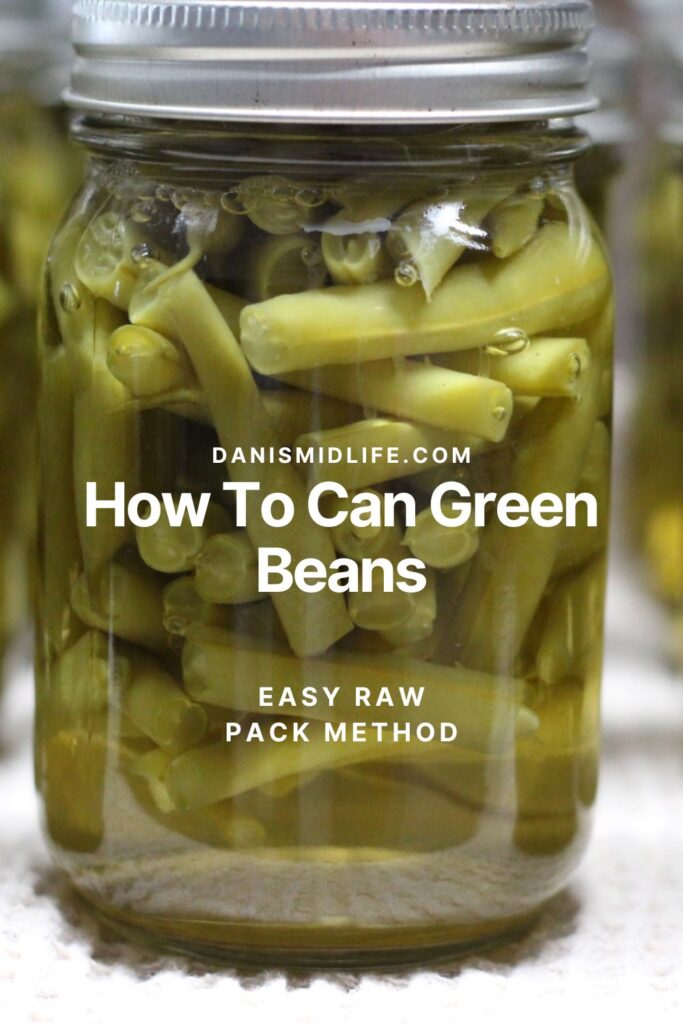
How to Can Green Beans the Easy Raw Pack Way
If you’ve ever snapped a mountain of green beans on the porch with your grandma, you already know—there’s nothing quite like home-canned green beans to taste like summer all year long. Today, I’m diving into one of the easiest ways to preserve that garden goodness: the raw pack method!
Yep, no blanching, no fancy fuss—just crisp beans, clean jars, and your trusty pressure canner. Ready? Grab your beans and let’s get snappin’!
This post may contain affiliate links. Please read my disclosure policy.
What is the Raw Pack Method?
Canning green beans the raw pack method is exactly what it sounds like: pack your fresh, raw green beans straight into your jars, cover them with boiling water, pop on the lids, and process them in a pressure canner. That’s it. The beans cook during canning, saving you a step and keeping more crunch in every bite.
What You’ll Need To Can Green Beans The Raw Pack Method
- Fresh green beans (as many as you can pick or buy!)
- Salt, NOT Iodized (Optional, but tasty!)
- Clean pint or quart canning jars with lids and bands
- Pressure canner ( I use THIS ONE)
Note: Green beans are a low-acid vegetable—a pressure canner is a must for safety!
How to Raw Pack Green Beans
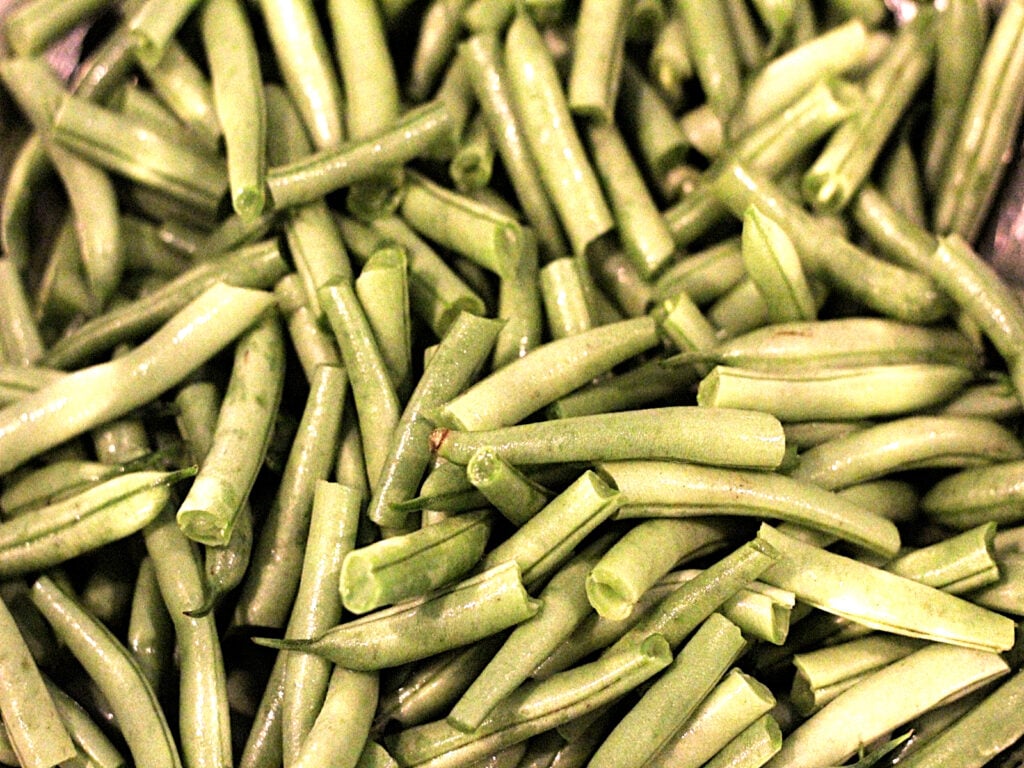
- Wash & Snap
Wash your beans and snap off the ends. Break them into bite-sized pieces—about 1 to 2 inches. - Prep Jars
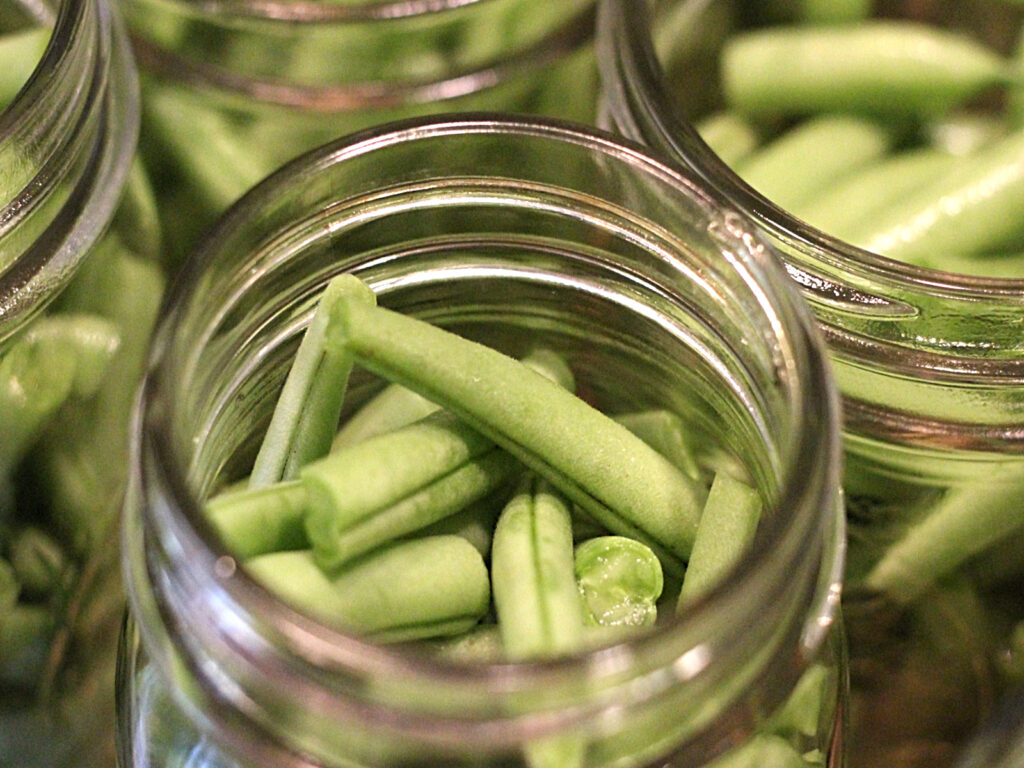
Wash your jars, lids, and bands in hot soapy water. Keep your jars warm so they don’t crack when you add hot water. - Pack ‘Em In
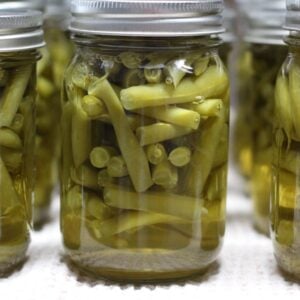
Pack the raw beans tightly into the jars, leaving 1 inch of headspace at the top.
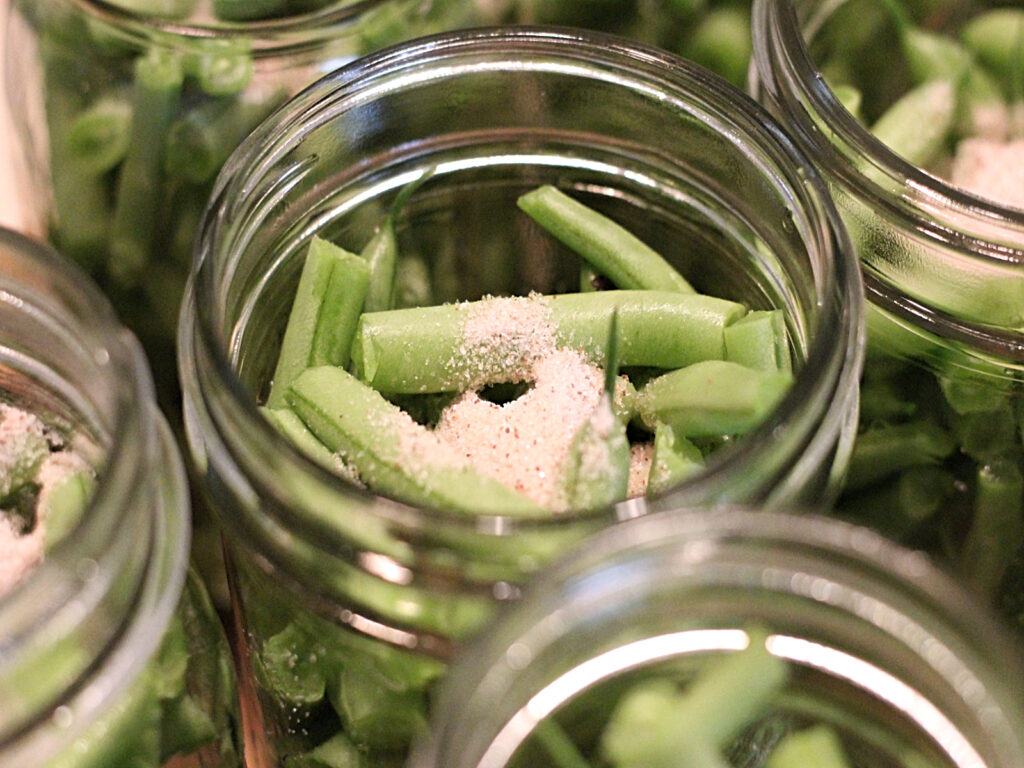
- Add Salt (Optional)
Add ½ teaspoon of salt per pint (1 teaspoon per quart) if you like. Totally optional!
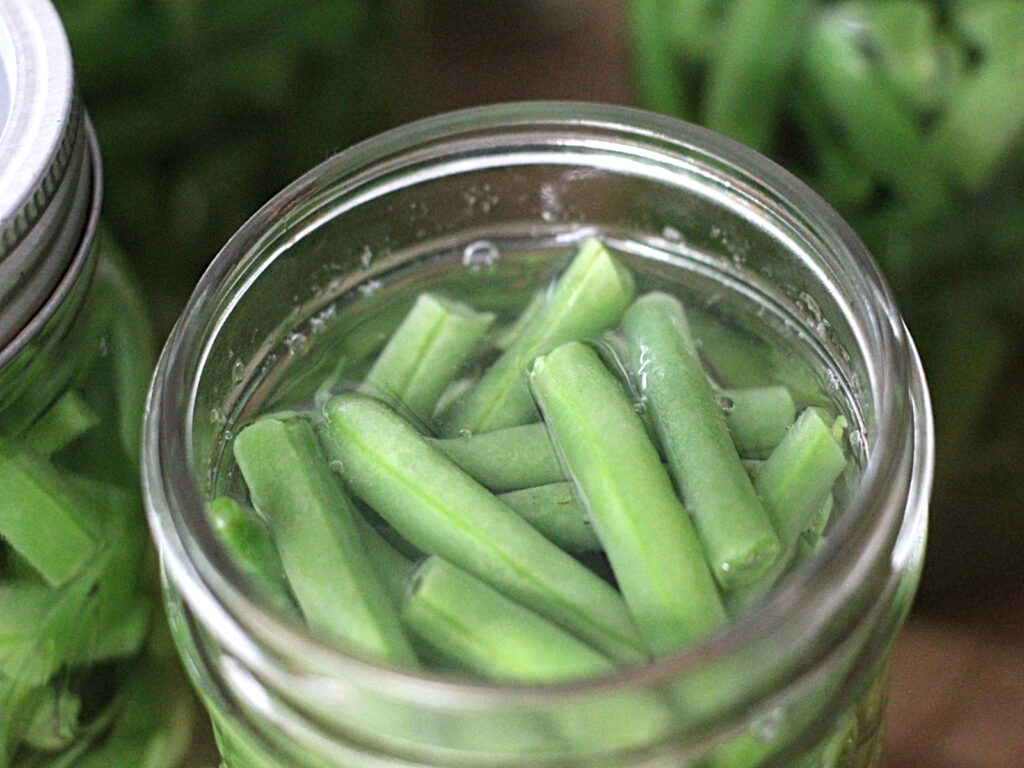
- Cover with Hot Water
Pour boiling water over the beans, covering them completely. Still keep that 1 inch of headspace.
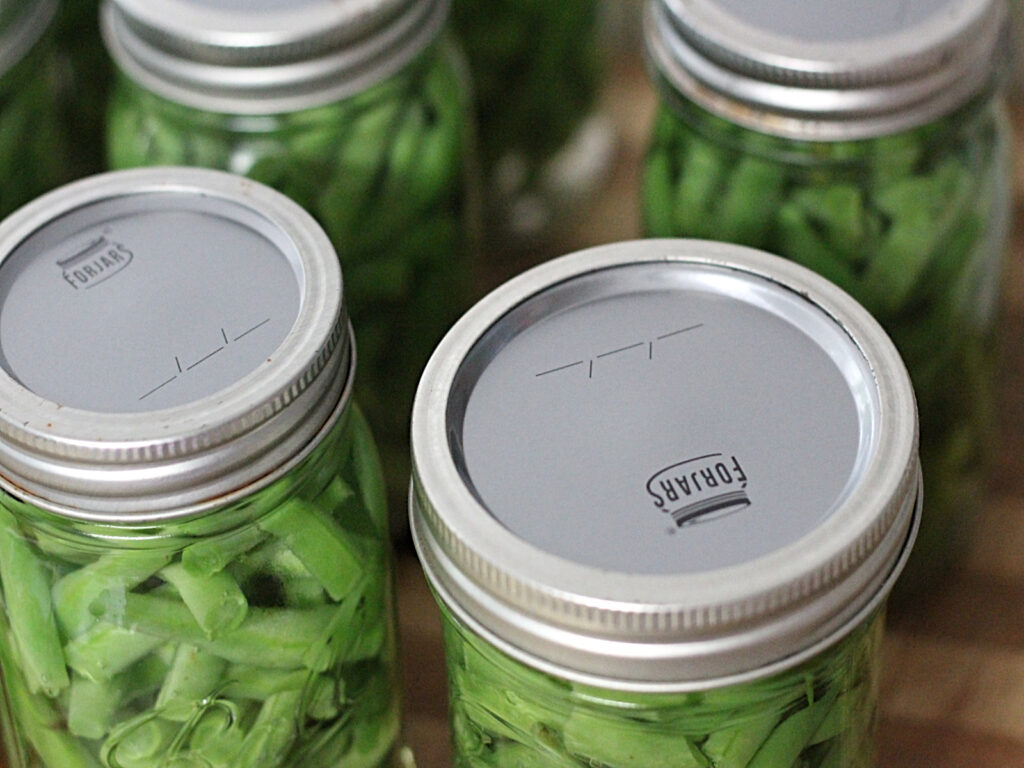
- Wipe, Lid, and Band
Wipe the jar rims with a clean damp cloth. Add lids and screw on the bands finger-tight. (Do not overtighten)
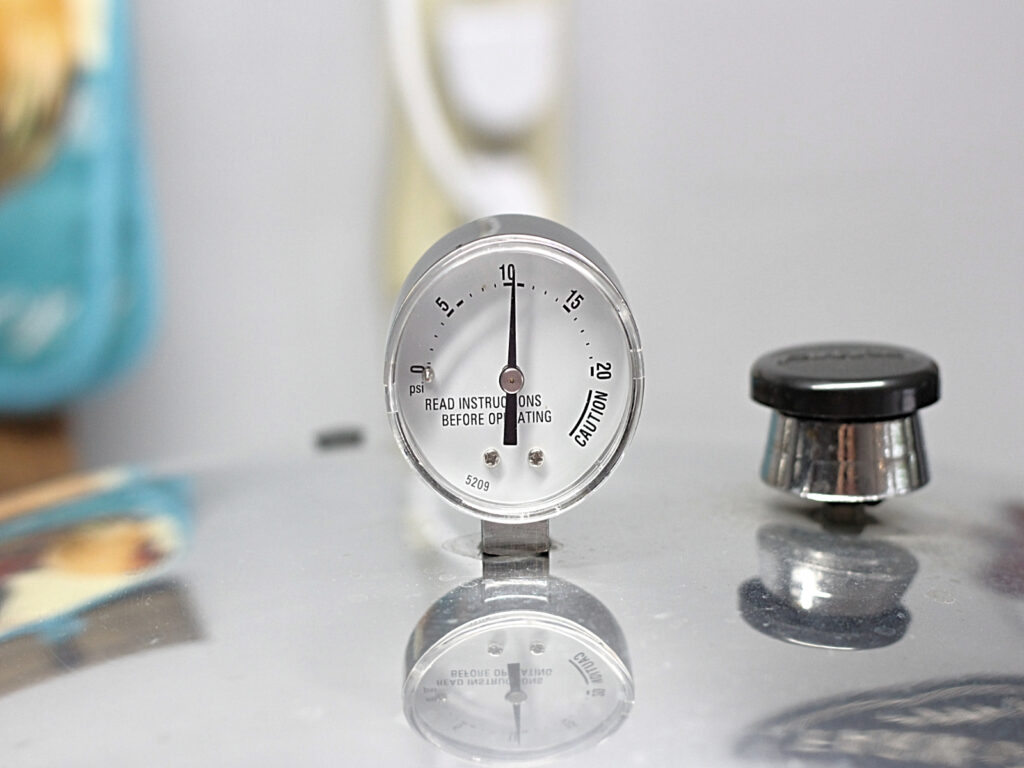
- Process in Pressure Canner
- Place jars in your pressure canner. Process at 10 pounds pressure (adjust for your altitude!) for:
- Pints: 20 minutes
- Quarts: 25 minutes
Always follow your canner’s manual for exact steps and safety.
Pop, Snap, Done!
When they’re done, turn off the heat, let the canner depressurize naturally, remove jars, and listen for that satisfying pop of the seals. Once cool, check seals, remove rings, wipe jars, label, and store in a cool, dark pantry.
Congratulations—you’ve just captured green bean season in a jar!
Why I Love Canning Green Beans The Raw Pack Method
- Less prep, more jars done in a day
- Beans keep a nice texture
- It’s the way my grandma did it—simple, satisfying, and delicious
Pin this for later: “How to Can Green Beans the Easy Raw Pack Way!”
Serve Up Summer All Year Long
Next winter, crack open a jar, heat them up with a pat of butter, maybe a sprinkle of bacon bits if you’re feeling fancy—and remember those long sunny days in the garden.
So go ahead—grow a little extra, pick a little more, and raw pack your way to a pantry full of green bean goodness.
Happy canning!
Love canning? Check out my other simple and delicious canning recipes:
- Homemade vegetable soup
- Pickled beets
- Hot pepper rings in red sauce
- Applesauce
- Roasted tomato sauce
- The BEST dill pickles
How to Can Green Beans the Easy Raw Pack Way
Equipment
- Pressure canner
- mason jars, lids, rings
- Jar lifter
- large pot or kettle to boil water
Ingredients
- Fresh green beans (as many as you can pick or buy!)
- Salt, NOT Iodized (Optional, but tasty!)
Instructions
- Wash & Snap-Wash your beans and snap off the ends. Break them into bite-sized pieces—about 1 to 2 inches.
- Prep Jars-Wash your jars, lids, and bands in hot soapy water. Keep your jars warm so they don’t crack when you add hot water.
- Pack ‘Em In-Pack the raw beans tightly into the jars, leaving 1 inch of headspace at the top.
- Add Salt (Optional)-Add ½ teaspoon of salt per pint (1 teaspoon per quart) if you like. Totally optional!
- Cover with Hot Water-Pour boiling water over the beans, covering them completely. Still keep that 1 inch of headspace.
- Wipe, Lid, and Band-Wipe the jar rims with a clean damp cloth. Add lids and screw on the bands finger-tight. (Do not overtighten)
- Process in Pressure Canner-Place jars in your pressure cannPints: 20 minutes Quarts: 25 minutes
- When they’re done, turn off the heat, let the canner depressurize naturally, remove jars, and listen for that satisfying pop of the seals. Once cool, check seals, remove rings, wipe jars, label, and store in a cool, dark pantry.


