
It Ain’t Fancy – DIY Herb Drying Rack
There’s nothing quite like the taste of homegrown herbs sprinkled into a soup, tossed on roasted veggies, or steeped into a cozy cup of tea. But if you’ve ever grown more basil, thyme, or mint than you can possibly use fresh, you know the struggle of preserving all that green goodness before it goes to waste. Enter: the DIY herb drying rack.
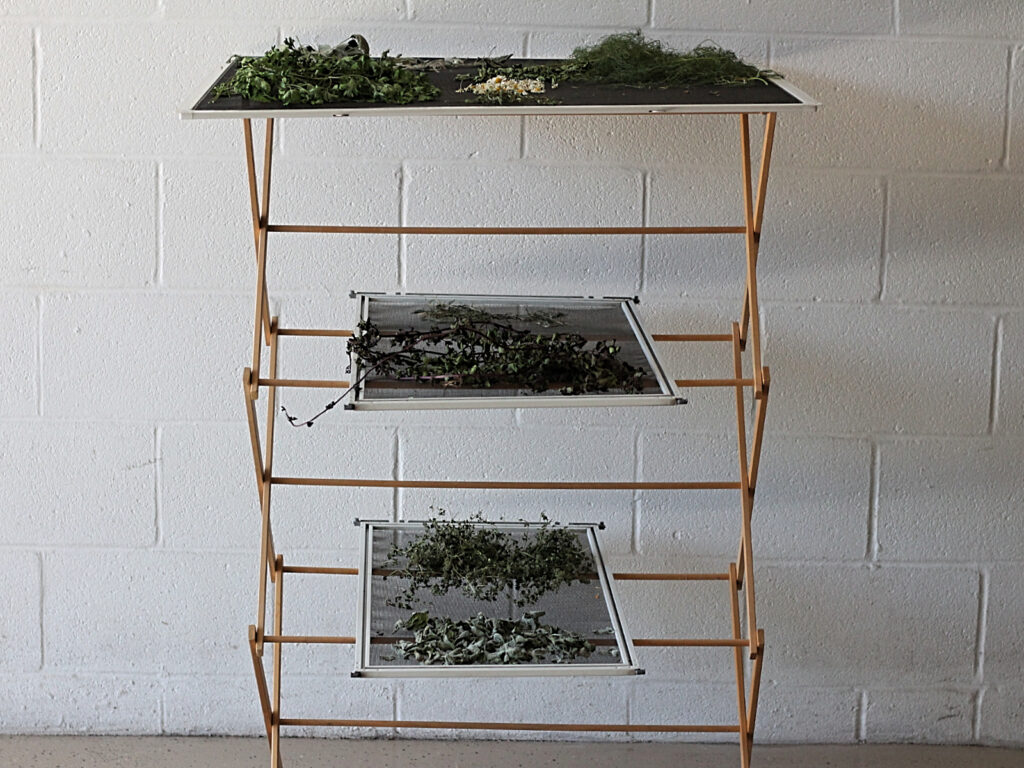
With just a wooden clothes drying rack from your nearest Dollar General store and a couple of old window screens, you can make a simple drying setup that keeps your herbs in perfect condition.
This post may contain affiliate links. Please read my disclosure policy.
Why Dry Your Herbs at Home?
- Save money – no more pricey store-bought herbs.
- Better flavor – freshly dried herbs keep their aroma and oils.
- Sustainable – you’re using tools you probably already have!
What You’ll Need To Make A DIY Herb Drying Rack
- 1 wooden clothes drying rack (the foldable kind is perfect)
- A few window screens (salvaged ones work great—just clean them well)
- Twine or clothespins (optional, for hanging bundles)
How To Build Your Herb Drying Rack
- Set your wooden rack in an area that is cool, dry, and away from sunlight. I use my basement but any corner of your house will do!
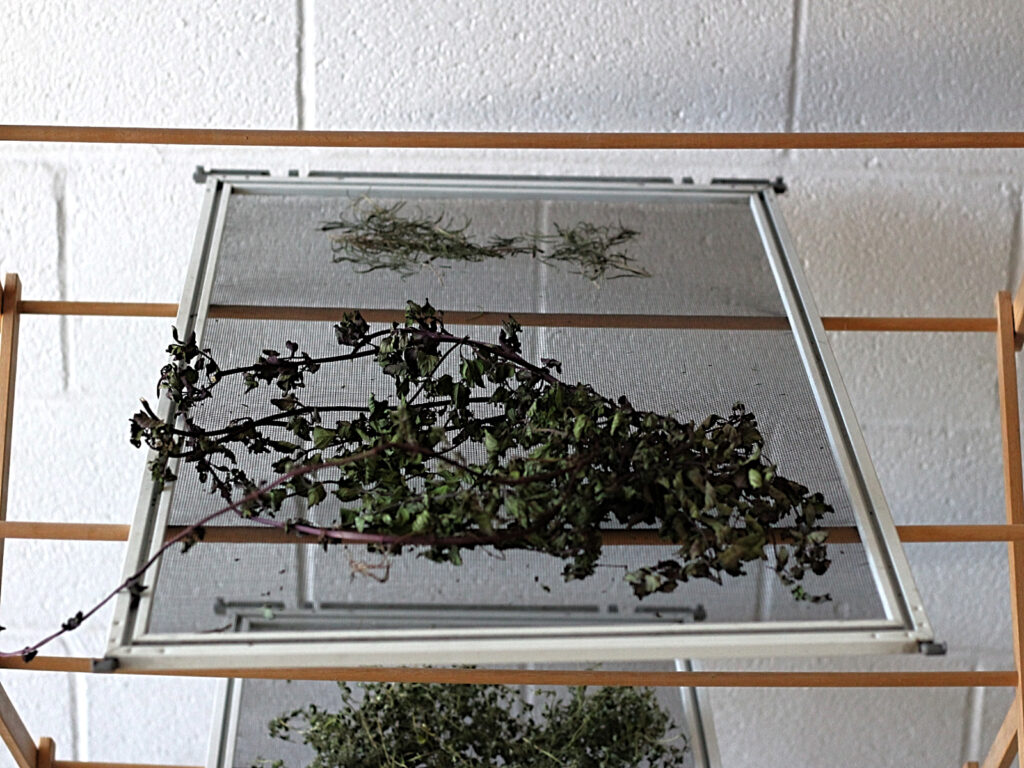
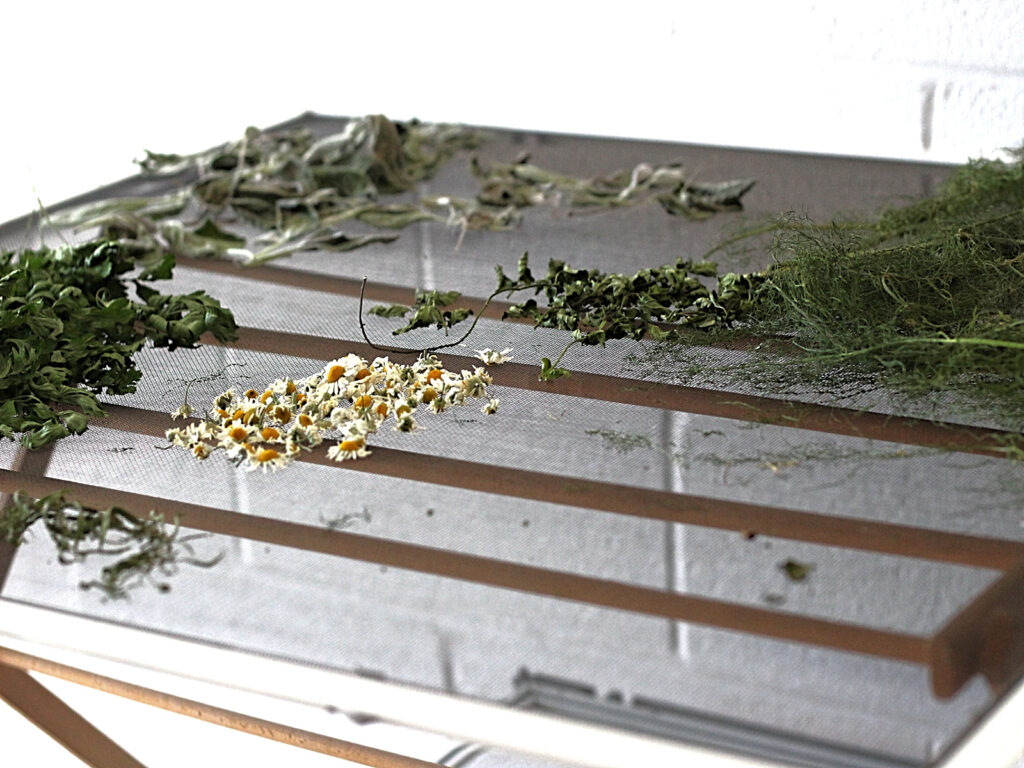
- Lay a window screen across each level of the rack. Mine has three levels, which I think most do. Be sure your screen fits within the rack spaces.
- Spread your freshly harvested herbs in a single layer on each screen. Keep the varieties separate (your peppermint won’t love sharing space with oregano). If you prefer hanging bundles, use the rack’s bars like a mini clothesline—tie herb bunches with twine and clip them up.
- Most herbs take 1–2 weeks to fully dry. You’ll know they’re ready when leaves crumble easily between your fingers. Once dry, crumble the leaves, store them in airtight jars, and label them for your spice cabinet.
Bonus Tip
If you like the look, don’t put the rack away! Keep it as a permanent feature in your kitchen or pantry. A drying rack filled with herbs looks like something straight out of an old-world apothecary—and smells even better.
The Best Herbs to Dry This Way
- Basil
- Oregano
- Thyme
- Mint
- Sage
- Rosemary
- Dill
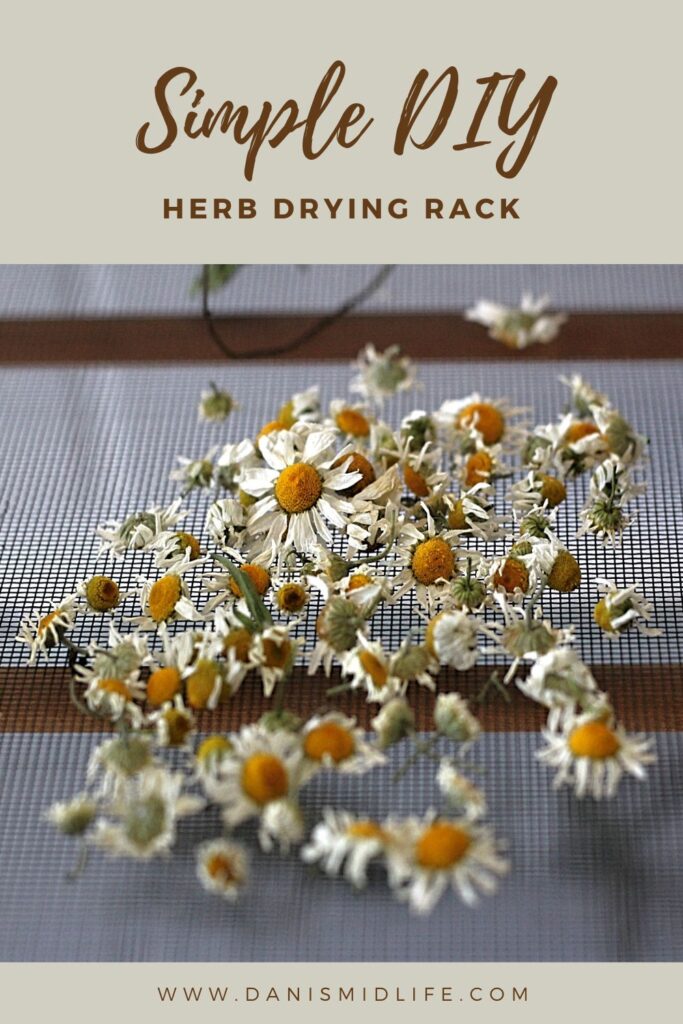
- Chamomile
Whether you’re a gardener with baskets of summer herbs or just someone who scored a deal at the farmers market, this DIY herb drying rack is a cheap, practical, and downright charming way to stock your pantry with flavor.
So dust off that wooden clothes rack, rescue a couple of window screens from the garage, and get started. Your future soups, teas, and sauces will thank you!


